DIY “Be Thankful” Simple Glittered Banner
I spend every Thanksgiving at my sister’s house. It’s a mutually beneficial arrangement… she doesn’t have to cook and the mess is left behind at her house afterward! Although come to think of it, I get the better part of the deal because she always helps!
One year, after seeing how people say what they’re thankful for on TV shows, we decided we were going to go around the table with the 5 of us and do the same. It didn’t work out as it does in the movies. The boys have been smelling the food cooking since the moment they woke up were acting as though they were starving. They most definitely did not want to start a new tradition, they just wanted to start in on eating.
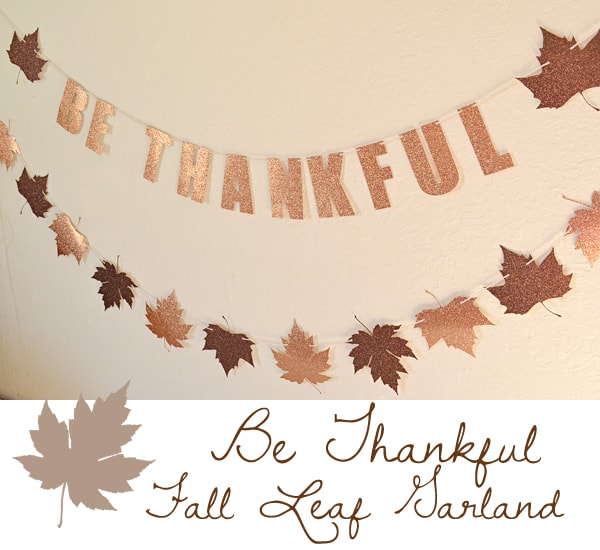
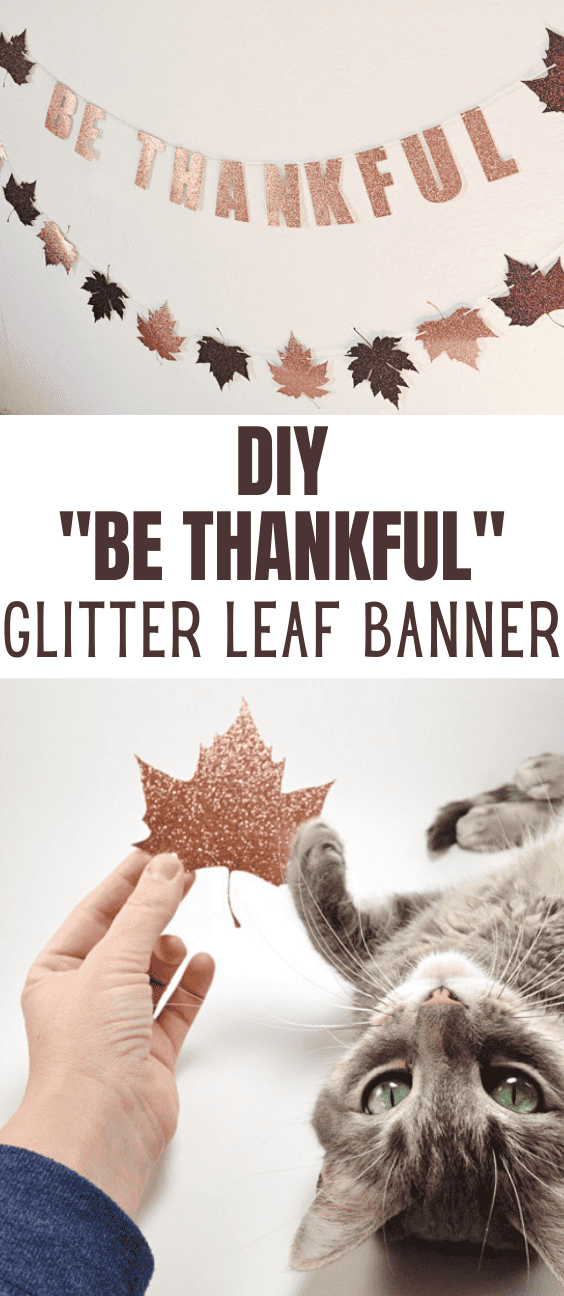
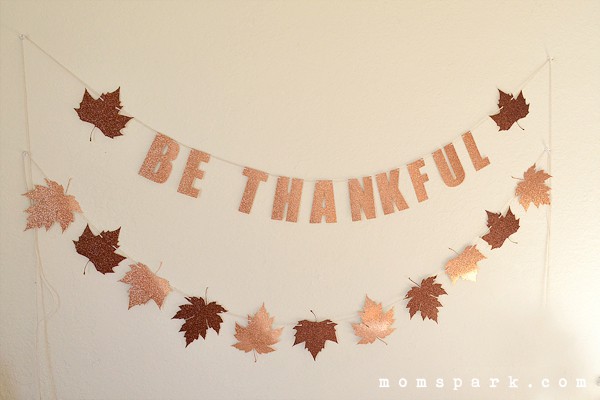
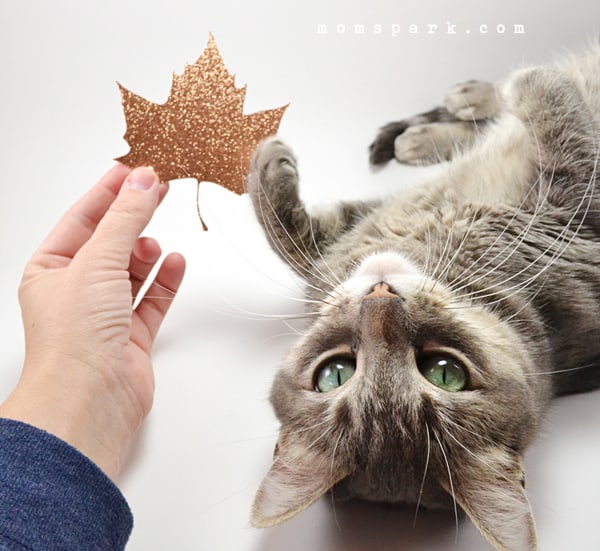
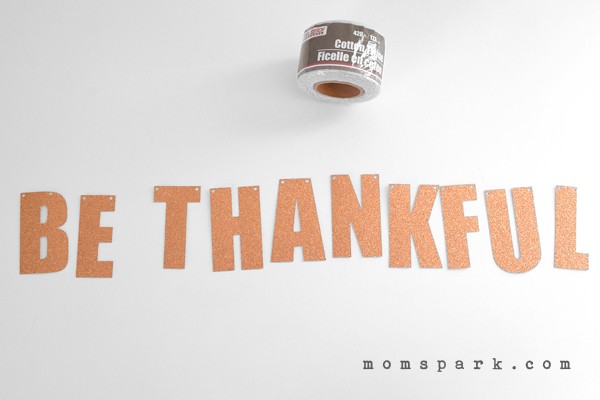
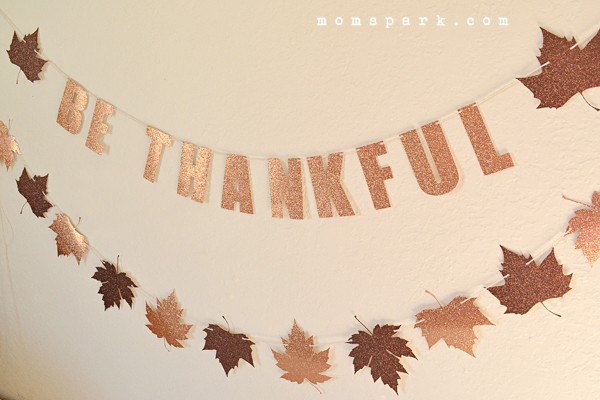
But that doesn’t mean we weren’t thankful then or thankful now. While Thanksgiving is mostly about the food these days, hopefully, a glittered out banner with fall leaves will help remind us all that it’s more than just “Turkey Day”.
For this project you will need:
- Glitter cardstock
- Silhouette
cut files for Maple Leaves, Oak Leaves, Text or X-acto knife and images for Maple Leaf, Oak Leaf, Text 1, Text 2
- String
- Tape
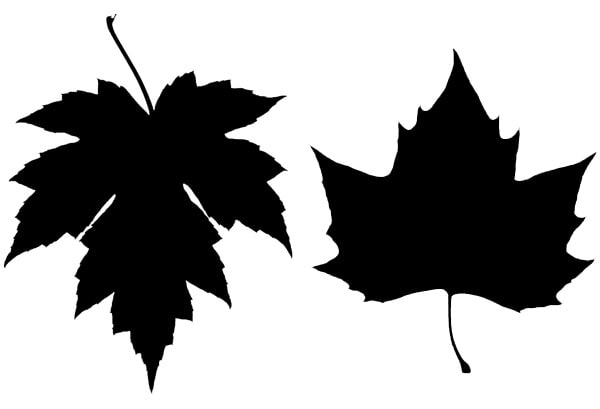
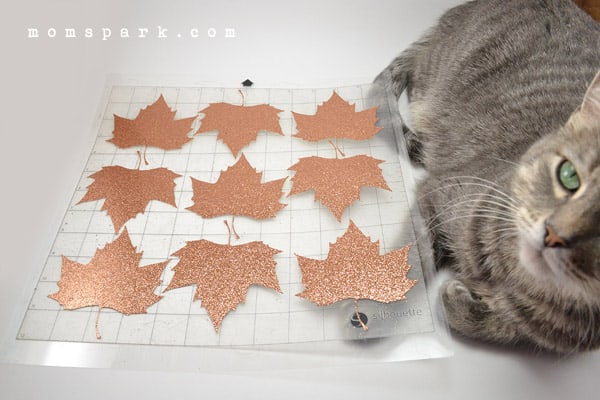
If you don’t have or want a fancy cutting machine, you can still do this with an X-acto knife. Now the one on the left (the one I am calling a maple leaf) is going to take some time. I went ahead and included it just in case but if it were me, I’d stick with the one on the right.
I used my Silhouette cutting machine because it’s super fast.
If using the Silhouette files, there are holes already made for stringing your garland, but if you are cutting by hand, you might want to use a hole punch for uniformly sized holes. You can take them wherever you please, but be sure to leave enough space around the hole to keep the leaf intact.
Grab your string and get ready to get on it. I used cotton twine from the dollar store but feel free to use baker’s twine or yarn or whatever pleases you.
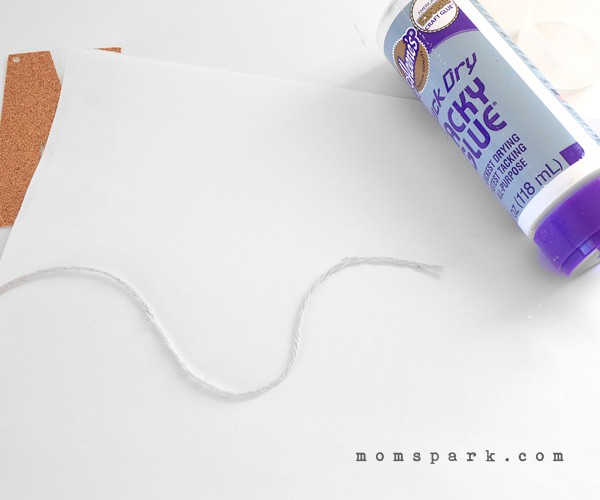
Since the edges of my twine were fraying rapidly, I put a small amount of glue on the end and allowed it to dry. Doing this will make your end firm, not unlike a needle. It’s way handy!
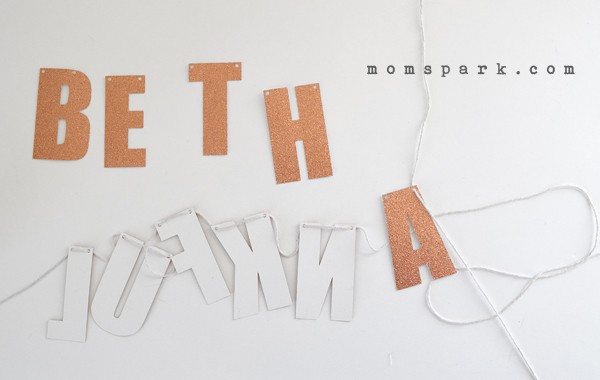
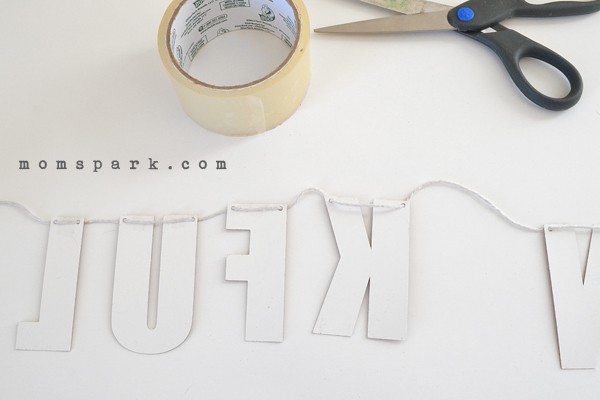
String your letters and leaves on as you please, making sure to keep the bulk of the string behind the letters and shapes.
Using tape or glue, tack the string to the back of the letters and shapes spaced equally apart (except for the space, of course).
To hang, I put clear push pins halfway into the wall and then wound my twine twice around the metal before pushing all the way into the wall. It’s quite secure and hardly noticeable.
Since I am quite thankful for glitter, I thought this was the perfect adornment for the holiday setting at my sister’s home. Because she’s way thankful for glitter too, even if her husband most definitely is not!
A crafter since her earliest years, Allison spends a little time every day making something. She crafts, sews, paints, glues things onto other things, and is a firm believer that a life spent creating is a life worth living. Visit Allison’s blog, Dream {a Little} BIGGER.


