DIY Mandala Yoga Mat
I love being able to DIY up EVERYTHING and that extends to things you might not normally think to DIY. When I found some gorgeous hippie-style mandala wall tapestries on Amazon I ordered SEVERAL. I was so pleased with the quality for the inexpensive price I paid and am super excited to have a good handful of tutorials coming at you using these gorgeous pieces of fabric over the coming months.
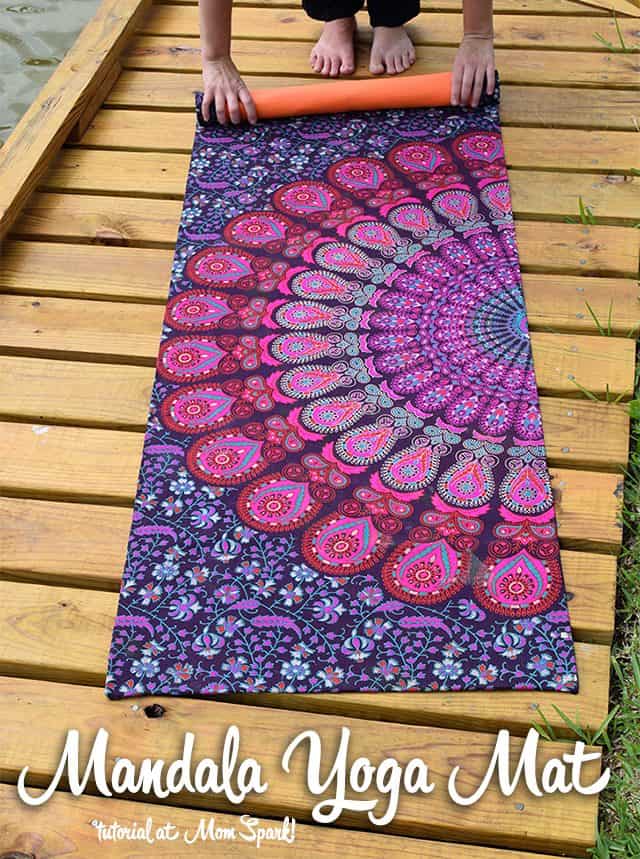
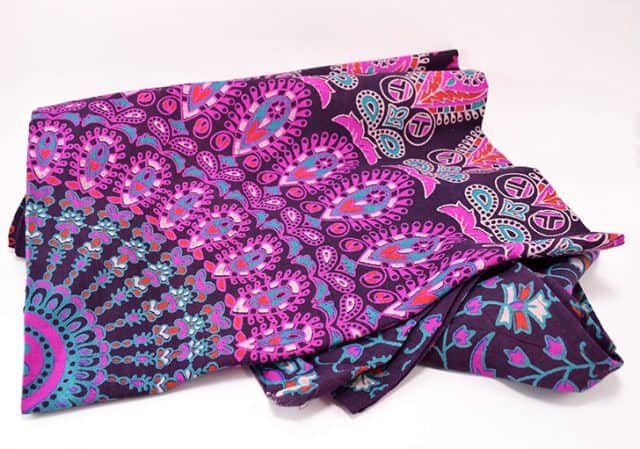
When I saw this particular tapestry with its dark navy background and bright pink, orange, and teal mandala in the center I knew exactly what I wanted to do with it. The very moment I saw it I thought “that’s going to be my new yoga mat”.
Now I wasn’t terribly sure how well this was going to work out and I was NOT about to ruin an expensive mat so I bought one for about $11, also off of Amazon. The good news is I didn’t ruin a dang thing. Huzzah! My mat is just about the prettiest thing you’ve ever seen and I’m SO KEEN to get started on my journey to be a regular yogini!
For this project you will need:
- Yoga mat
- Tacky glue
- Cheap bristled brush
- Scissors
- Mandala style tapestry wall hanging
- Clothespins
- Wax paper
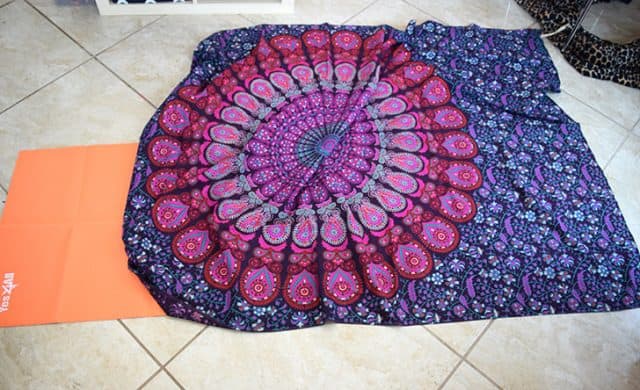
First up you’re going to need a tapestry wall hanging. In amazon search for “tapestry wall hanging” and tons will pop up, some as cheap as $7! Woot! This particular one cost me about $10.
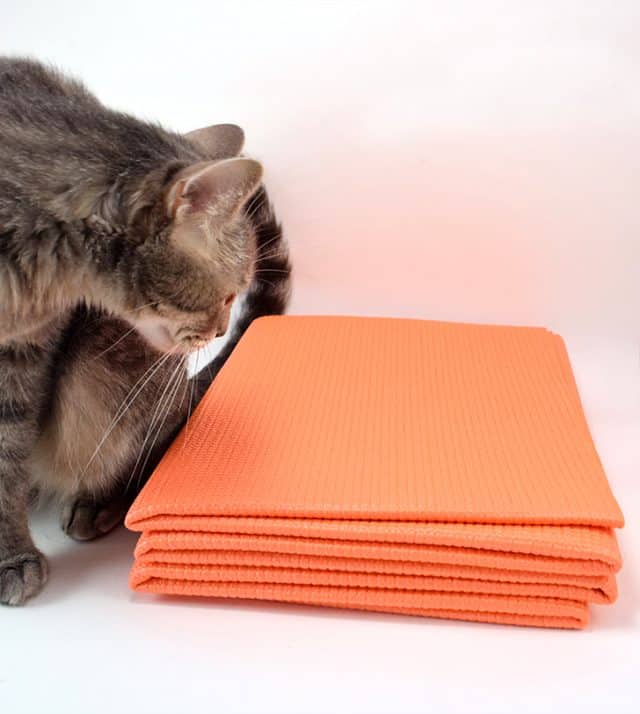
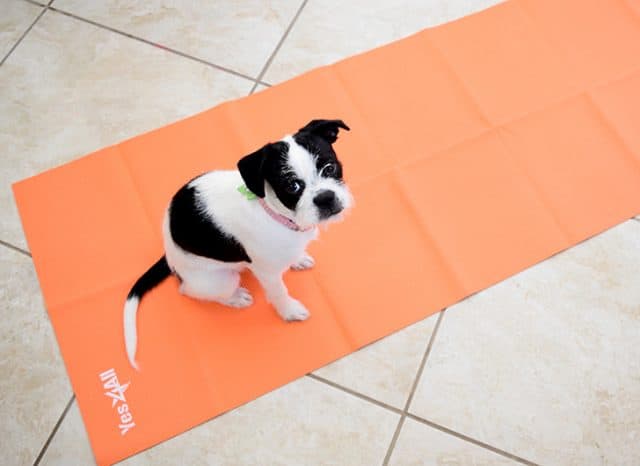
You’ll also need a yoga mat. This one is super thin and cost about $10, also. A quick note, the stinking folds in this thing are a BEAR to get out.
Apparently, everybody with four legs LOVES this thing so perhaps we are off to a good start!
Spread out your tapestry and decide what part of it you’d like on your mat. I really wanted the center-right smack dab there in the center of the mat but I felt like that would have wasted far too much of this gorgeous fabric. I decided instead to use half of the mandala and place it off-center on the mat.
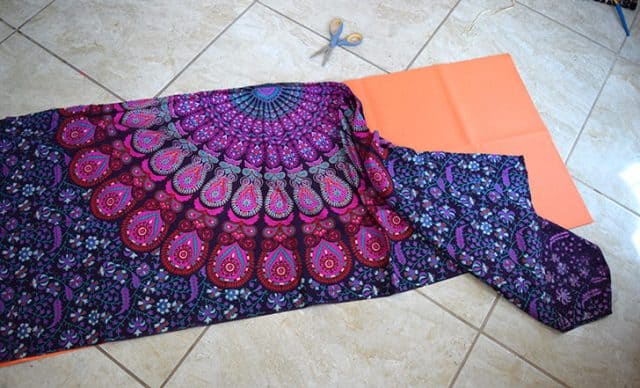
Trim your fabric to have 1-2 inches of extra off of each side of the mat.
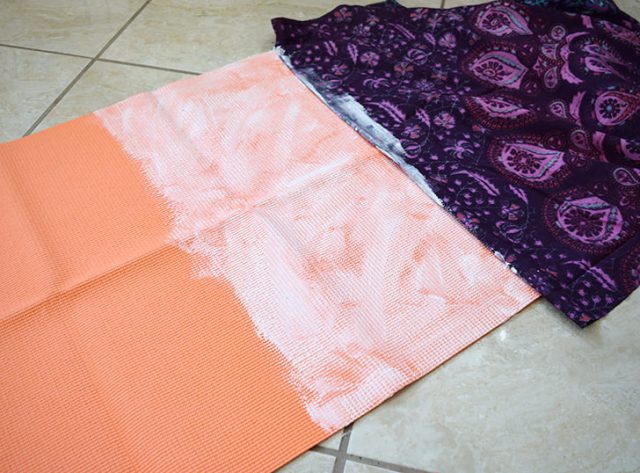
Working in sections about a foot wide begin brushing Tacky Glue onto the mat. Roll the fabric onto the glued sections smoothing it out as you go along the length of the mat.
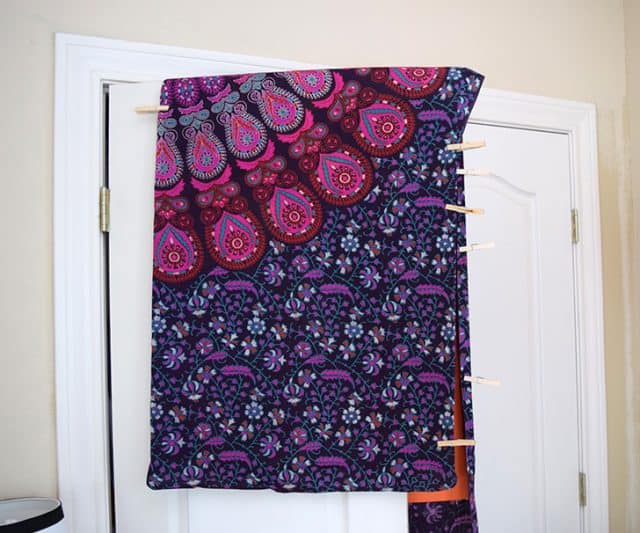
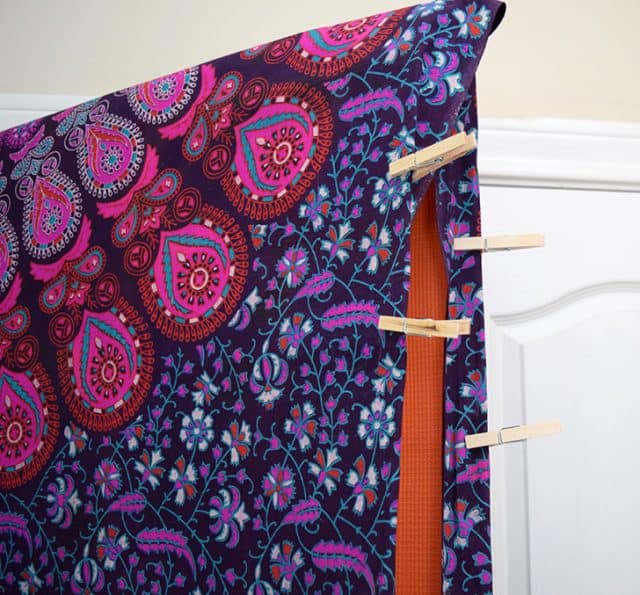
Now since I don’t have tons and tons of unused floor space (like in the guest room that isn’t currently full of baskets and baskets of clean laundry) I used a closet door to dry the mat and fabric out. Allow the glue to dry for a few hours and then apply glue to the edge and the underside of the remaining fabric. Fold the fabric inward to the back and use clothespins to keep it securely in place while drying.
To make things easier than what I went through cut a small piece of wax paper and place it on either side of the yoga mat in between the fabric and the wood of the pins. I didn’t do this and I have been peeling some wood away from where the pins got stuck to the fabric when the glue inevitably seeped out a bit through the weave of the fabric.
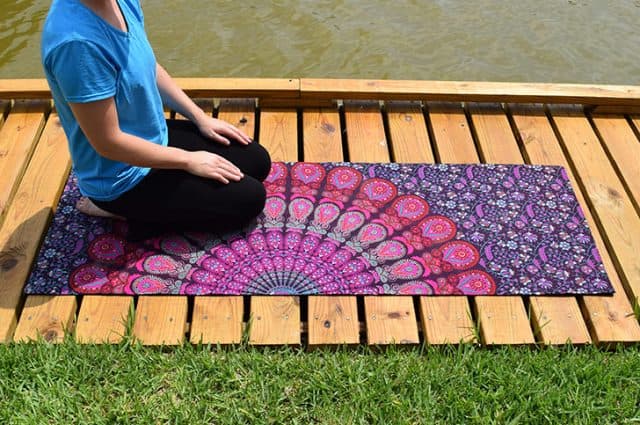
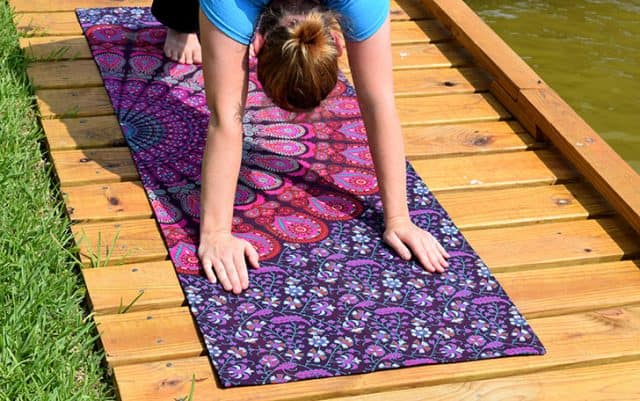
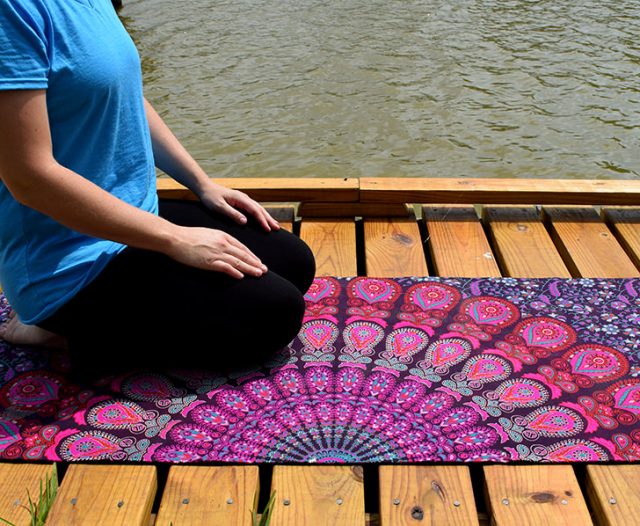
Once dry head out to your serene spot and get your yoga on!
Now isn’t that just the most gorgeous yoga mat you’ve ever seen? I am in LOVE with it!
A crafter since her earliest years, Allison spends a little time every day making something. She crafts, sews, paints, glues things onto other things, and is a firm believer that a life spent creating is a life worth living. Visit Allison’s blog, Dream {a Little} BIGGER.


4 Comments on “DIY Mandala Yoga Mat”
Amazing post ! I like the way of tapestry is use as yoga mat, there are various online stores where you can buy these mandala tapestry, We use this tapestry with various patterns like yoga mat, table cloth, beach throw and much more. I like your post and thanks for mentioned here.
Pingback: Tutorial: Gorgeous mandala yoga mat – Sewing
Very very nice mandala mat thanks for sharing.
If you want to see some amazing collection of mandala list please have a look @
http://www.handicrunch.com/en/wall-hangings-and-tapestry/mandala-tapestry.html
This is gorgeous! I would love to try this out, but I have a question. Have you had any problems with the mat when it is rolled up? Has the fabric tapestry started to lift from the mat, or had bubbles formed because it is rolled up?
Thanks!