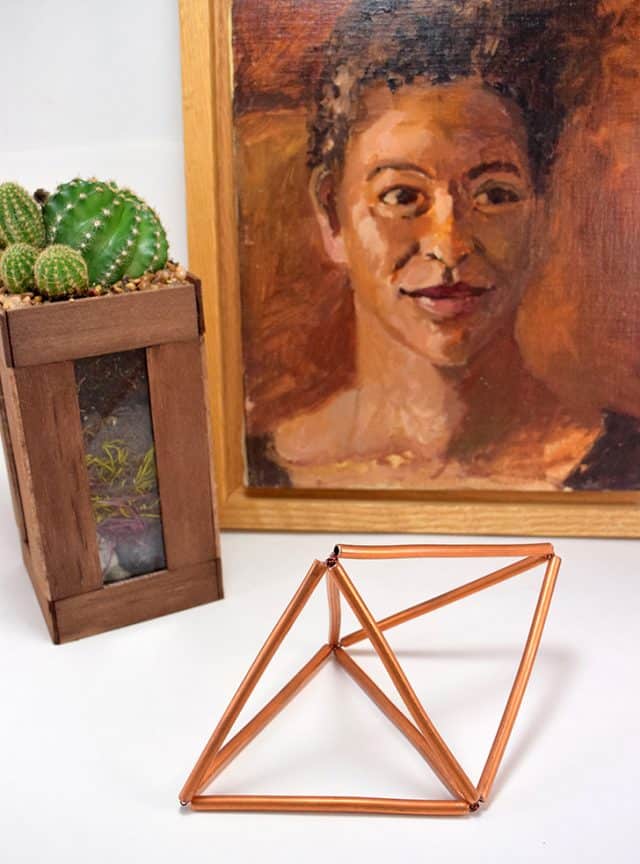
Himmeli Style Copper Sculpture Tutorial
There’s something about copper that has always been so appealing to me. When I was in middle school I had a copper bracelet my dad got for me in Colorado that I wore all of the time. It was nice because my dad gave it to me but also because my skin didn’t react to the metal as it did with a lot of my other jewelry. That in and of itself made me fall in love with copper jewelry.
As I’ve gotten older I’ve found myself more and more drawn to metallics. Thinking they were garish as a kid I now have a little place in my heart for all things that younger me would have found gaudy. I LOVE gold but I also really, really dig copper. Realizing that I want to bring more into the comfier rooms in my home, like the bedroom and living room, it seemed a good time to start to DIY up some decorations.
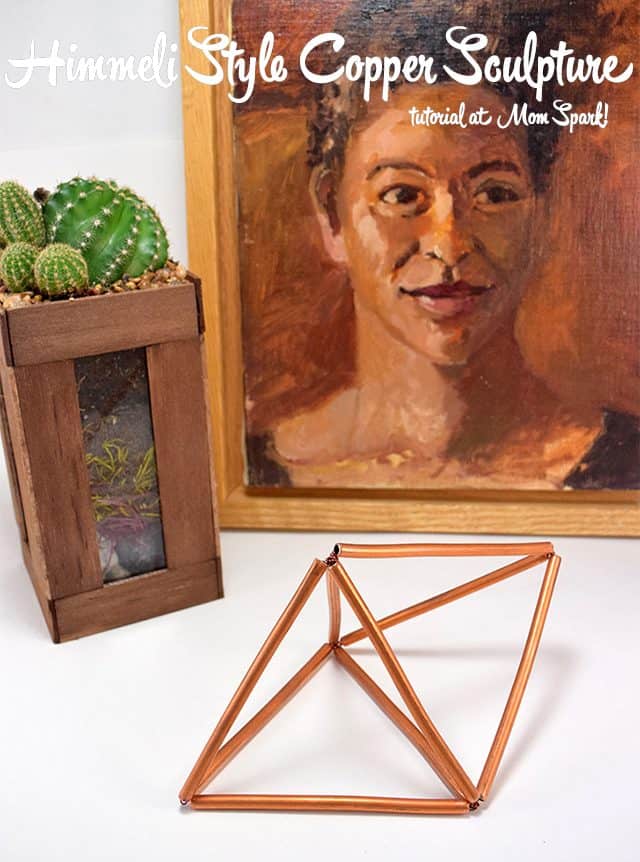
I’m starting out with this Himmeli inspired geometric sculpture. You only need a few tools to make this happen and, if you’re like me, once you make one you’ll want to make another and another and another. So let’s learn how to make this first one and start a new crafty fascination!
For this project you will need:
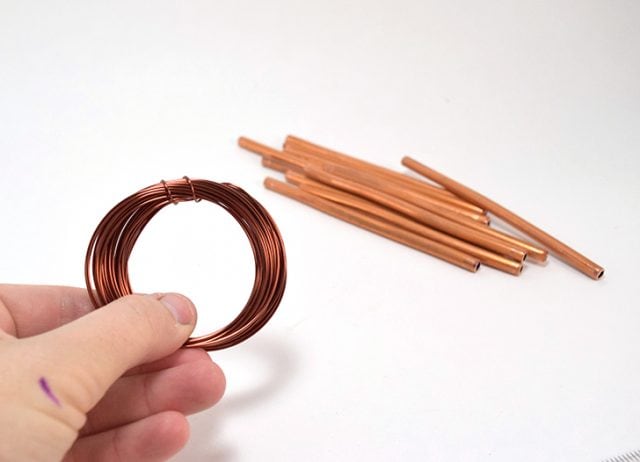
- 1/4 inch copper tubing
- tubing cutter
- copper colored 20 gauge jewelry wire
- needle nose pliers
- marker
- ruler
(optional)
First, we will discuss our required materials a bit. You’ll need to go to the hardware store but I promise I’ll tell you exactly what you need so that even if you’re uncomfortable in these kinds of stores you can get what you need, or find somebody who can quickly help you out.
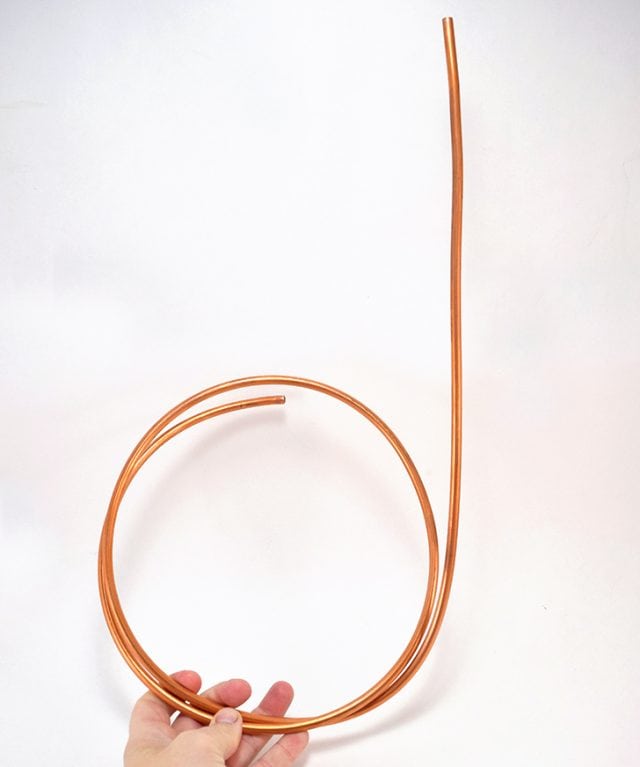
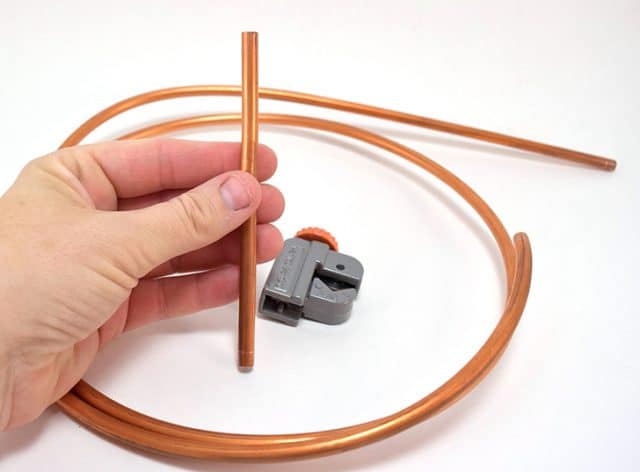
This is copper tubing. It’s sold in rolls that are in cardboard boxes. You’ll find it over in the plumbing section of the hardware store. Look for the BIG copper pipes and the tubing will be nearby. If you need to ask for help, you’re looking for 1/4″ copper tubing, at least 5 feet long.
You’ll need to straighten out the tube as you work. It’s very bendable and it’s super easy to straighten out. Placing it on a flat surface like a table or a desk will help you get it a bit straighter. Even if it isn’t perfect it will still work just fine, so don’t stress about it.
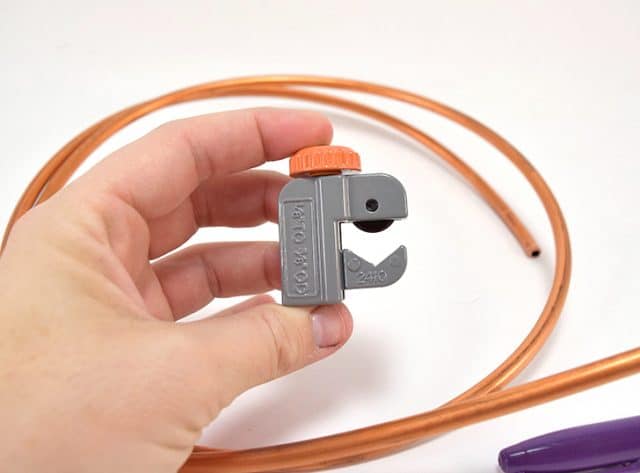
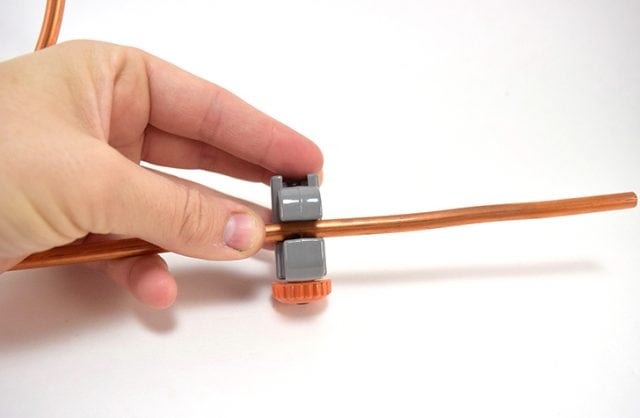
This is a tube cutter or tubing cutter. This is sold, also in the plumbing section, but for some reason not by the copper tubing. There are several sizes of tube cutters but you can use the smallest one there. If you think you might be more adventurous and use large sizes of tubes, you might want to go up in size as this one will only work for 1/8 – 3/8″ diameter.
Now I went to 2 different stores to compare the tools and see which I wanted. I had to ask for help BOTH times because I just couldn’t find the darn things hanging up. If you need to ask for help you’re looking for a “tube cutter” and if asked just tell them you’ll be cutting small lengths of copper tubing.
On your next trip to Walmart or the craft store pick up a roll of 20 gauge jewelry wire that looks copper in color. It doesn’t have to match your tubes exactly because there won’t be enough of it that it will clash terribly.
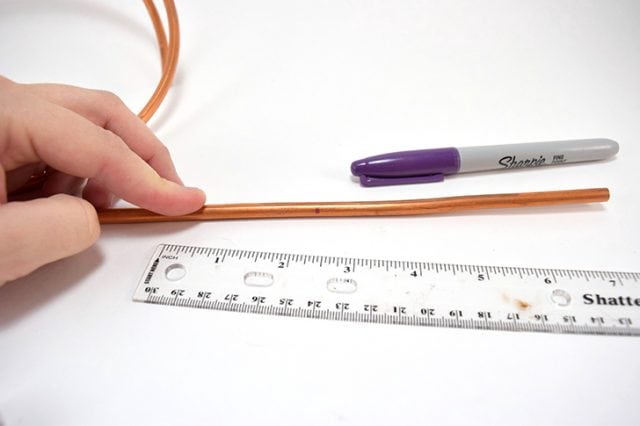
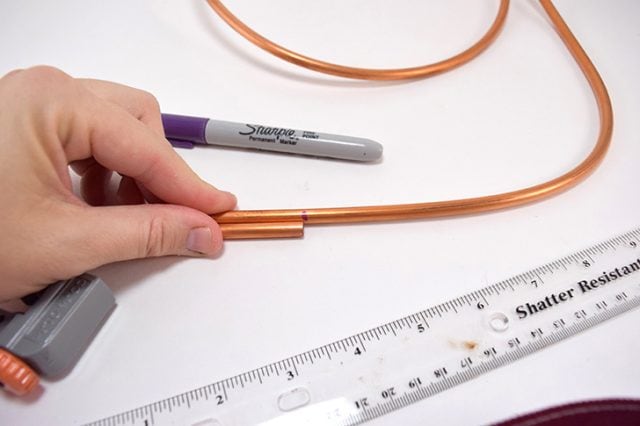
For the shape that was made you’ll need 9 cuts of the tube of the same length. I went with 9 5″ lengths. Measure out your first length.
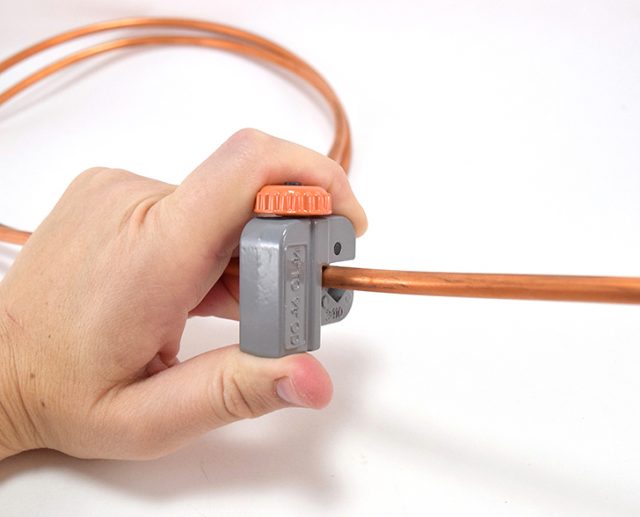
Place your tube in the hollow of the tube cutter. It’s like a vee shape where the tube will easily rest. Line up the blade inside with the mark you made. Turn the wheel on top until the blade gives enough pressure that the tube will hold tight in the cutter even without your help.
Slowly rotate the cutter around the tube. After you make your first pass slightly tighten the knob and make another pass. Every few passes give the shorter end of the pipe a slight pull downward. When the tube is cut through enough the pipe will snap off. If it doesn’t come away easily continue turning the knob to slightly tighten the blade, making passes until the tube does snap off.
Now, if you tighten too tightly you’re going to wedge that blade into the tube, and then you won’t be able to turn it around to save your life. You want light/shallow passes repeatedly to make this go smoothly.
Here’s my first piece. It’s not perfectly straight but it’s just fine.
Rather than measuring with your ruler, each goes you can now use your previously cut piece as a guide to continue making new pieces.
Once you’ve cut all of your tubes you can bust out that wire. Bring out a length about your wingspan (arms stretched all of the ways out left and right of your body like you’re the letter “T”) off of the roll. Trim your wires using the cutting part (the inner part where the pliers meet) to make your cuts. You could use scissors but you’ll wind up damaging them if they aren’t meant for heavy-duty things like wire.
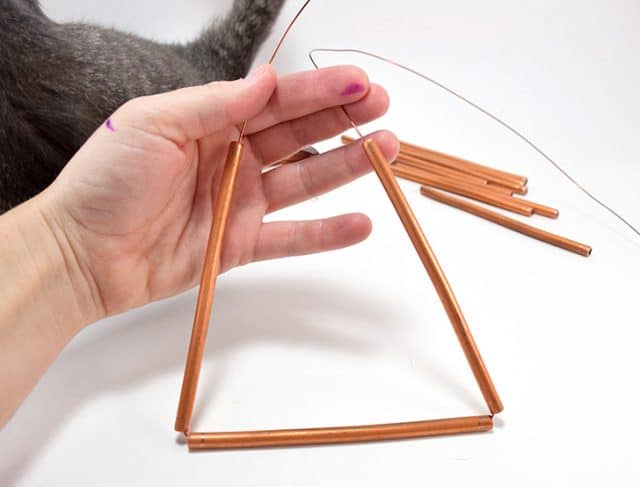
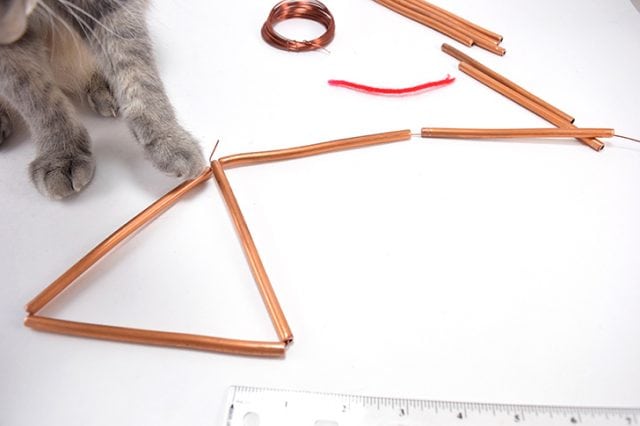
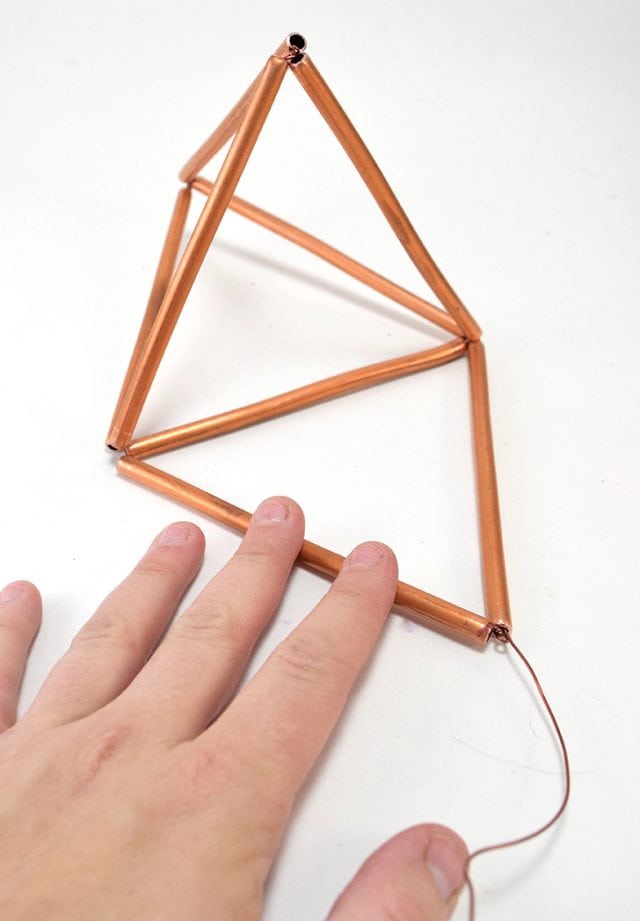
Leaving about a 2-3 inch tail, string on 3 pieces of tube and start to form a triangle.
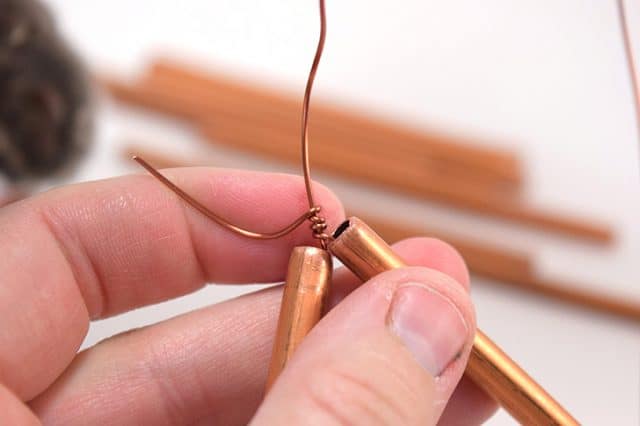
Keep the wire very, very taut, and twist it up to hold your triangle shape together.
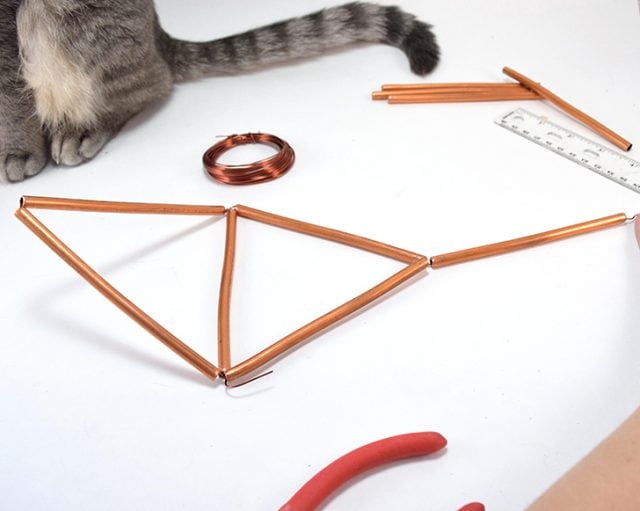
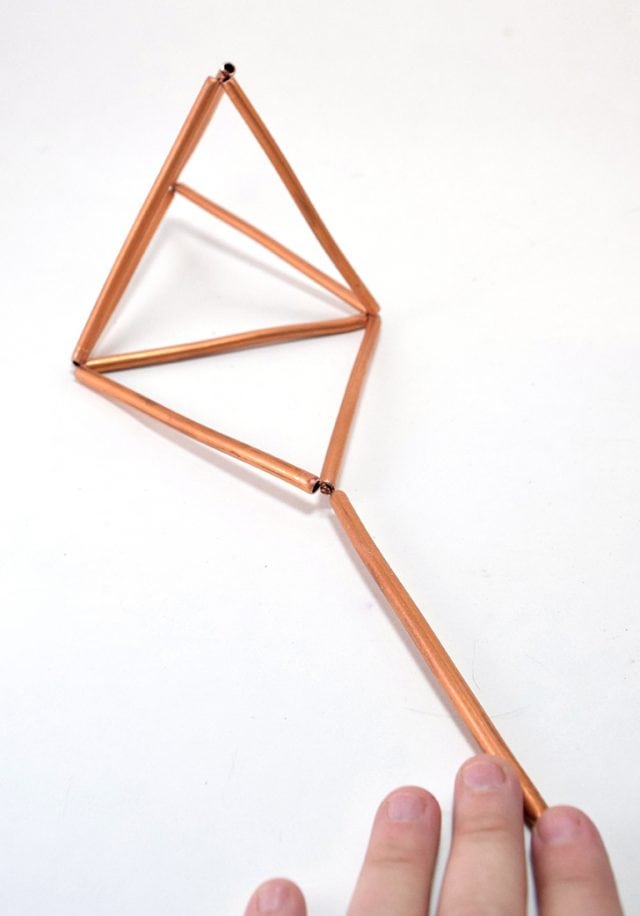
String on another 2 tube lengths. Using one side of the existing triangle, make a second triangle. It will look like an arrow pointing left and right connected down the middle. Twist the wire to hold tight.
Run the tube through the existing shapes so that it comes out one of the points of your triangles. String one another tube.
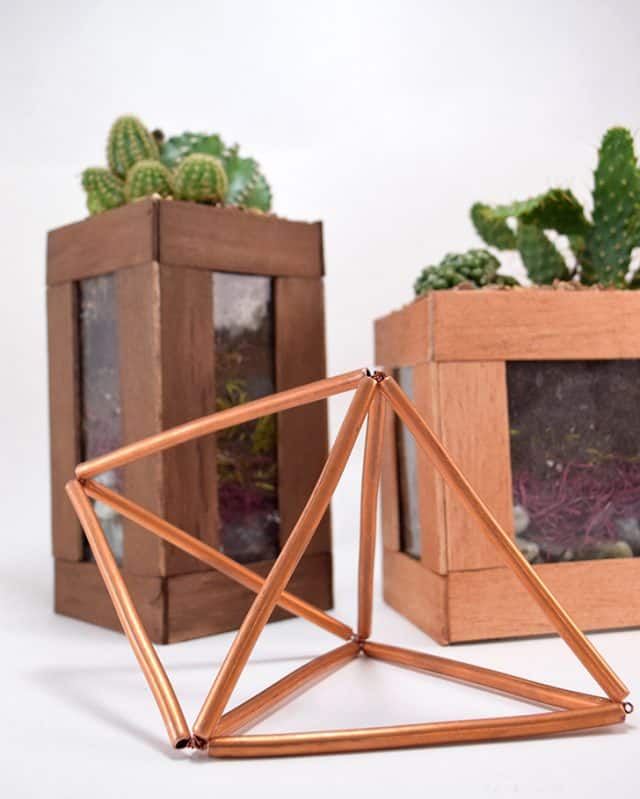
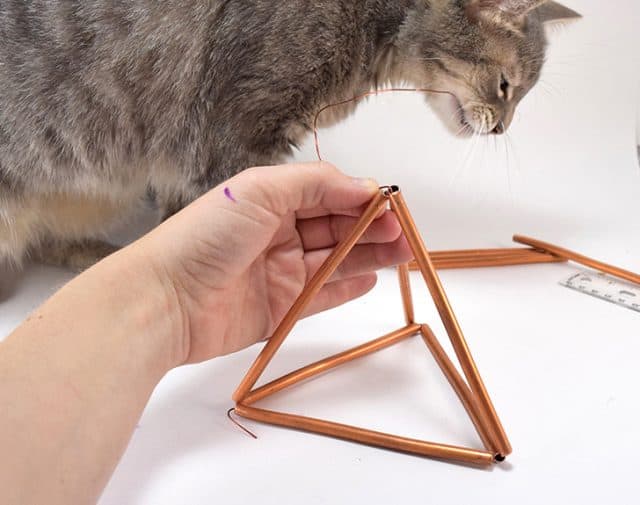
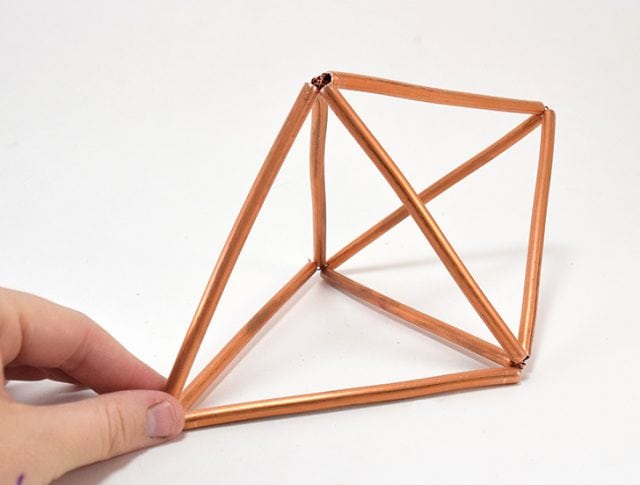
Bring the new tube up to meet the point of the other side of your arrows. This will form a shape with triangles on all 4 “sides” as you see in the pic above. Keeping the wire very taut wrap around and connect to make a free-standing piece.
Now we’ll be forming the other triangular shape and we’ll need a new piece of jewelry wire about the size of your wingspan to get it connected.
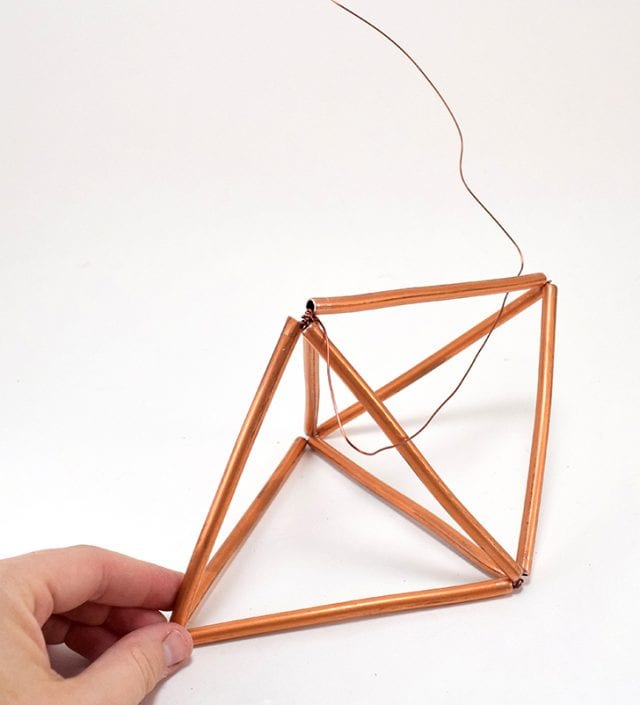
Run your wire through 2 tubes of the existing shape you’ve already made. Leave a tail of 2-3 inches hanging out. String on 2 lengths of tubing onto the longer end.
Bring the tubes down to your tail, twist them together to hold them secure.
You’ll need to bring that wire back out to the point of the arrow shape you just made. Simply run the wire through the connected tubes until your wire comes out like so.
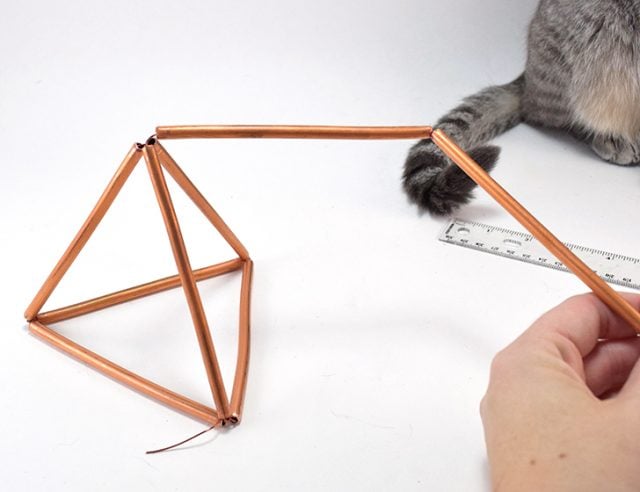
String on another length of the tube.
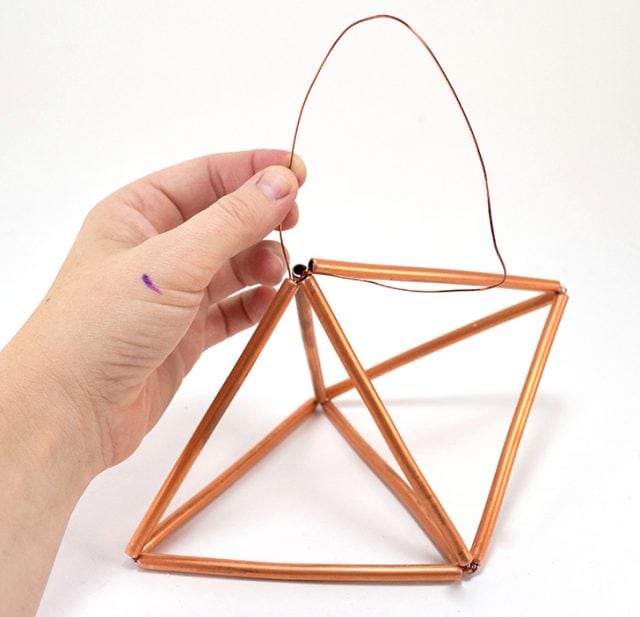
Bring that piece straight up to connect it and finish the shape. Twist your wire nicely and tight to make the shape secure.
Run the extra wire throughout tubes in the piece to help make it even more secure. When close to the end trim the wire to 2-3 inches long and push it into the last tube to hide the end.
And there is your finished shape! Anywhere that your wires get too crazy you can squeeze them to mash them together a bit with a pair of needlenose pliers and make them slightly less noticeable.
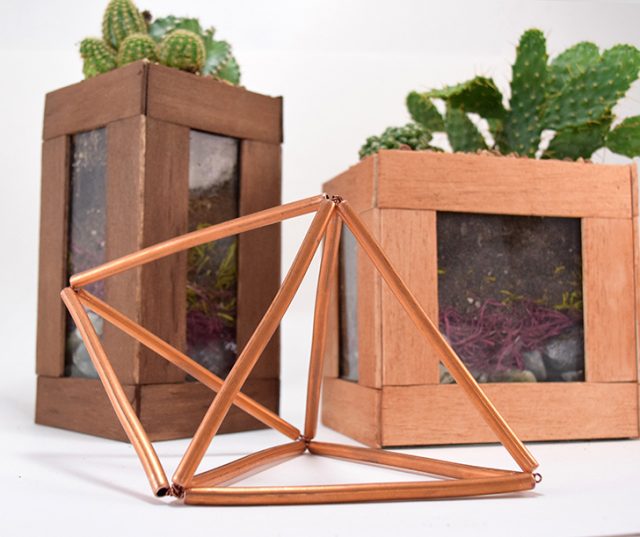
Now I tried to figure out what I wanted to set my new, geo shape by and I decided that they would look perfect with my newly created cactus terrariums.
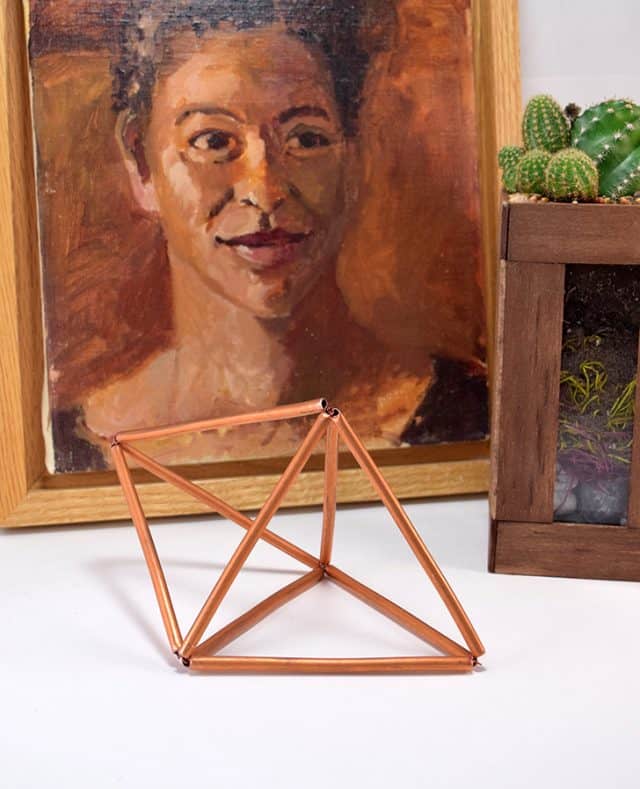
And then I went and asked Rob if I could use one of his paintings in the new decor scheme. Of course, he said “yes”. He always says yes to me 🙂
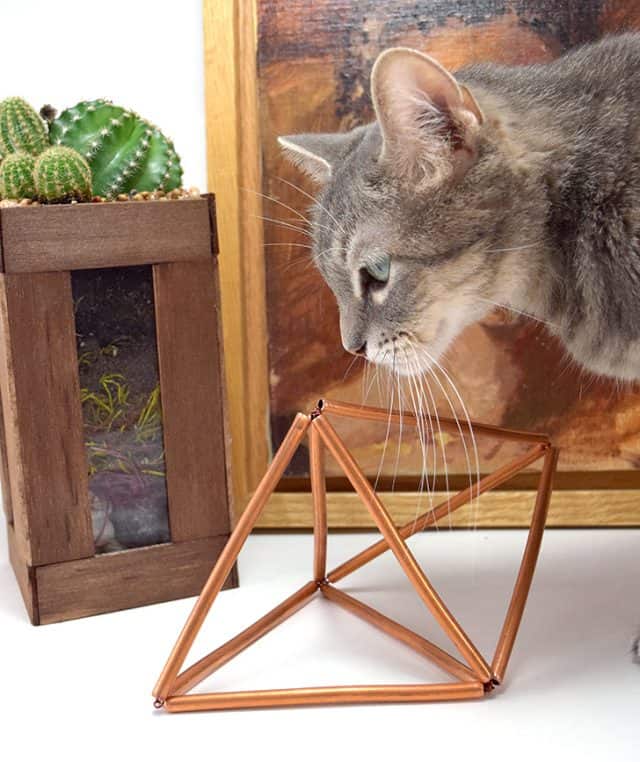
The cat likes it…
..and I love it. It’s the perfectly simple little element I needed for the top of my bookcase and I’m digging it all. And I actually loved making this little sculpture so much that I plan on making even more. That little tube cutter is going to get a ton of work! 🙂
A crafter since her earliest years, Allison spends a little time every day making something. She crafts, sews, paints, glues things onto other things, and is a firm believer that a life spent creating is a life worth living. Visit Allison’s blog, Dream {a Little} BIGGER.


