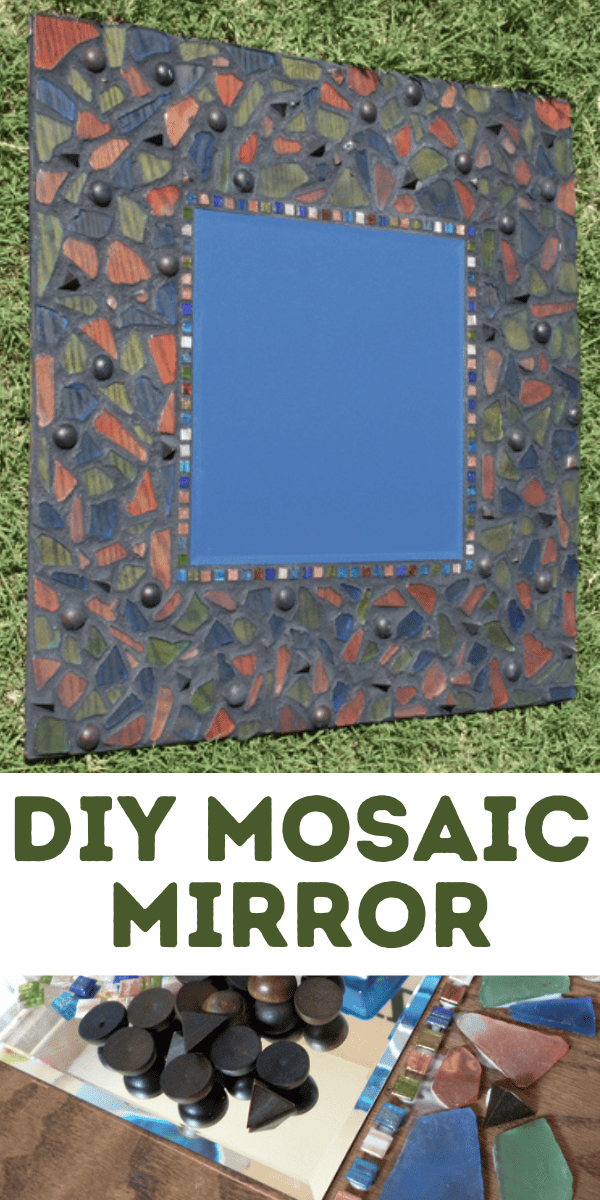
DIY: How to Make a Mosaic Mirror
I really, really like trying new craft mediums. Never before had I worked on a mosaic but I had really, really wanted to. A visit to the craft store where I found some interesting wood pieces on clearance inspired me to get it going.
Some crafts I just dive right into. I figure that any kinks will work themselves out and I don’t stress too much about winging it. This project was different, though. I was really worried about ruining amazing materials, so I borrowed books from the library, and asked questions at the hobby store, you name it. While I haven’t become a veritable wealth of mosaic knowledge, I had enough to complete my very first mosaic, I think with great results!
Interested in making your very own custom mosaic mirror? It’s an amazingly bold statement piece that can fit into just about any room in your home. What’s more, mosaic making can be very personal. I used translucent sea glass, a few tiles, and the half sphere and pyramid wood shapes I mentioned earlier. BUT, you can go all tile, all glass, throw in some seashells from a trip to the beach, rhinestones, beads that you like, anything really.

Check out the pyramid wood pieces. Not apparent straight on, but pointy and awesome at an angle!
Here is what you will need:
- plywood square
- square mirror
- Strong adhesive
(e.g. E-6000
)
- wood stain
or paint and a brush (optional)
- Elmer’s glue
- surface protection (e.g. old towel)
- stiff-bristled paintbrush
– an old and on its way out the door is a good one for this
- premixed grout
or powder grout
and tools required on package directions
- sponge
and a bucket
of water
- picture hanging kit
Step 1: Don’t discount this project if you don’t have the tools or know how to cut wood (I surely don’t). Take a look at the precut wood section of big hardware stores like Lowe’s or Home Depot. Since I was working with mostly translucent materials, I stained my wood in advance to make the grain stand out and allow it to show through the sea glass. If you’re using tiles, rocks, or other things that aren’t see-through, it really doesn’t matter what the board looks like underneath so skip this step…
Step 2: Attach your mirror to the plywood. Want to make sure you get it nice and centered? Draw a straight line from corner to corner of the plywood.
Squeeze some strong adhesive onto the back of the mirror. I applied very thickly and may have gone overboard, but I felt better safe than sorry. While the glue is still wet, place the mirror where you think is the approximate center. Move around until each corner of the mirror lies on the diagonal lines. Easy peasy!
Step 3: Get your materials together and lay them out. I played with mine a bit first to see what look I wanted to go for and how far my materials would go. I had wanted a tile line around the mirror and the outside but I didn’t have enough tiles. Instead, I went with the line right next to the mirror and then a mish-mosh of sea glass and wood pieces around the remainder of the wood.
If you need assistance, draw guidelines to help keep things straight or wing it! Use a small dab of Elmer’s glue to affix to the wood. FYI – they also sell special mosaic glue but I was informed that it isn’t too different than the good old school glue. Except in price that is…
Attach your pieces to cover most of the wood. Allow to dry at least overnight.
Step 4: Double-check to make sure that your glue has been set and none of your pieces want to slip around. Also, give a little push to every single piece glued down. I had one piece that didn’t want to stick and fell off with a little bit of pressure. I was very glad to reattach it BEFORE getting grout all over the place!
Step 5: Mix your grout according to the manufacturer’s directions. Be sure to use your craft bowl to prevent using this stuff in something you prepare food in. Since I used black grout and I have skin that stains for days I wore gloves. With lighter grout, it may not be necessary, though.
Step 6: Smooth the grout onto the piece working it into the cracks. Try to remove any excess from the tiles/rocks/etc. as you go along. Allow to sit about an hour or so after completely covering (including only the very edges of the mirror).
Step 7: When your grout is still wet but the setting, use your stiff-bristled brush to start removing excess grout. Feel free to pretend to be an archaeologist while performing this step. I did.
Give a couple more hours for the grout to set and bust out your sponge and bucket of water. I highly, highly recommend doing this step outside because it is really messy. This part of the step will remove any leftover grout on top of your tiles and decorative pieces.

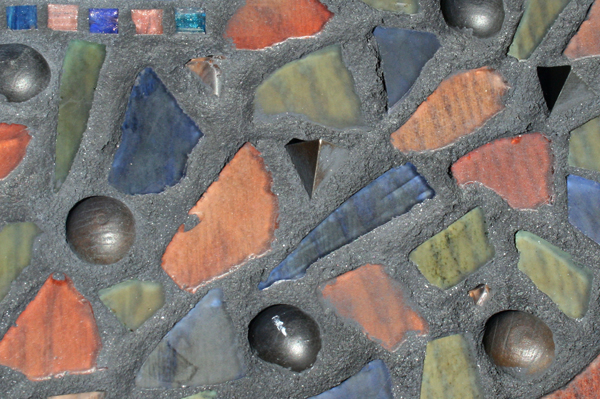
Close up of mosaic after being cleaned up!
Step 8: Use picture wire and eye hooks on the backside to prep for hanging. Be sure to find a stud in the wall because this sucker is going to be heavy and the last thing you want is a broken mosaic mirror and maybe even a chunk of the drywall on your floor!
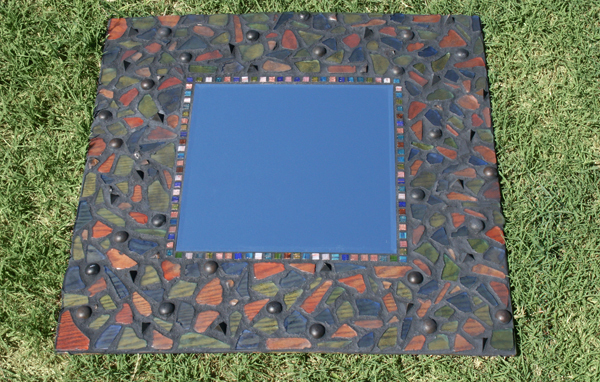
That is that! It’s a project that you have to space out over a couple of days but in the end, it is really rewarding not to mention striking. This one didn’t turn out exactly as I had pictured in my head, but luckily it will go perfectly in my sister’s dining room and she’s excited to have it. I’ll be putting my new mosaic skills to good use on mosaic mirror #2 very soon!
A crafter since her earliest years, Allison spends a little time every day making something. She crafts, sews, paints, glues things onto other things, and is a firm believer that a life spent creating is a life worth living. Visit Allison’s blog, Dream {a Little} BIGGER.


3 Comments on “DIY: How to Make a Mosaic Mirror”
Cute! That would look great in our hallway.
Let us know if you end up trying it!
I’d definitely like to see your finished mirror, too!