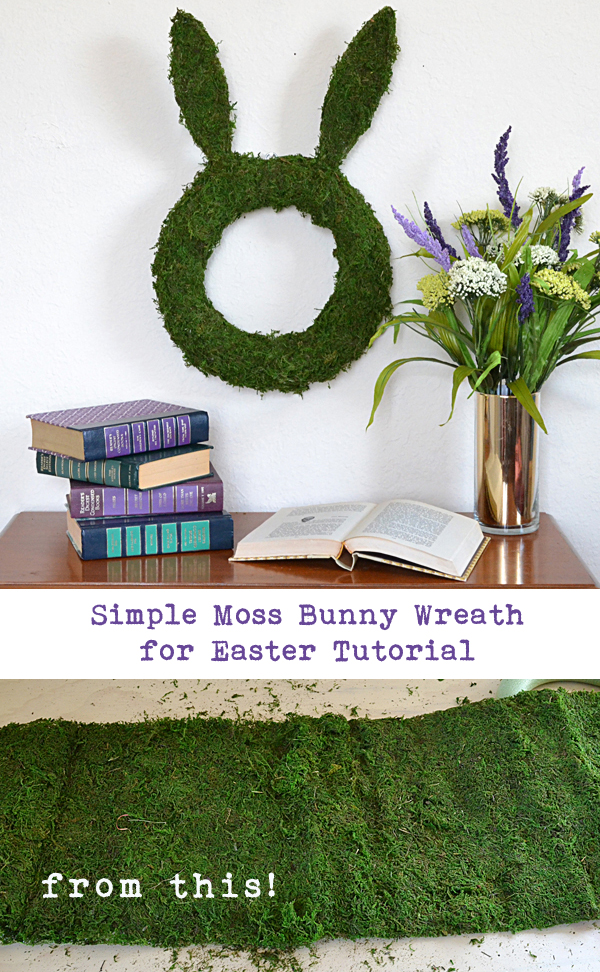
Simple Moss Bunny Wreath for Easter Tutorial
Easter wreaths have a tendency to revolve around one thing. The cheap, colorful plastic egg. We wrap them up in this or that and paint them this way and switch the tops and bottoms for a technicolor Easter! And all those are great, but they’ve been done a ton so I wanted to do something a little bit different…
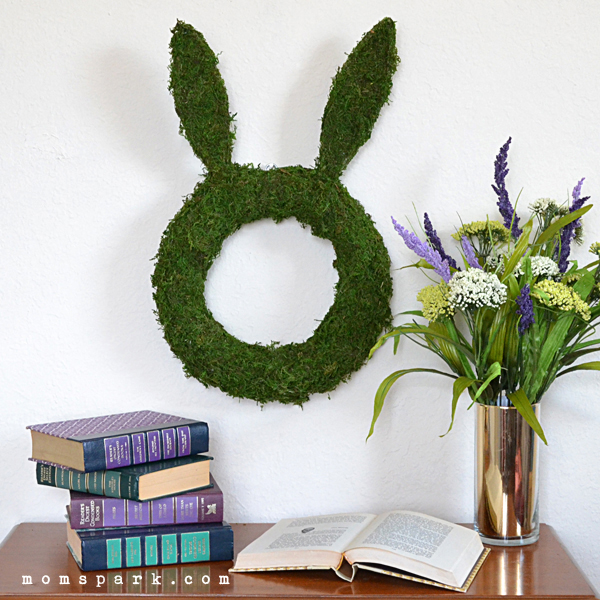
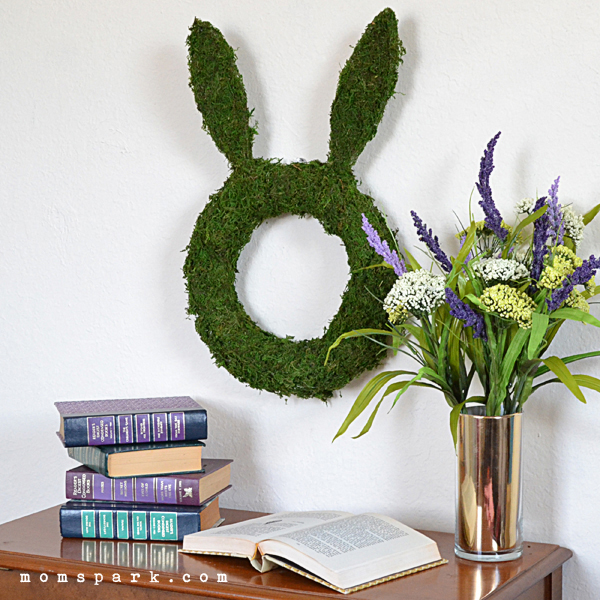
And in the end, I think that my wreath is modern but natural looking and I’m really loving it. In fact, my grandmother called while working on this and I had to explain, as I always do, what it is and what it looks like how I made it. Because she doesn’t have a computer, doesn’t want a computer and I can just tell her what’s going on instead of her going on with all of that fuss. And when I described it to her she said, “well #&*#&, can’t you add some little jelly beans or bird nests or something?” And I said that wasn’t the point of this particular wreath and she wanted to know what Easter wreath was better without “cute little jelly beans”.
But I’ve stuck to my very simple guns on this one because it reminds me of something I might see at West Elm. Feel free to embellish yours as you see fit. My mother is adamant that the ears need some bows (because I text her a pic of my projects just as I’ve completed them) and you know my Mimmie’s stance on jelly beans, but make your wreath how you please! Oh, and I feel I’ve got to tell you that moss really stinks! But let’s get after this already.
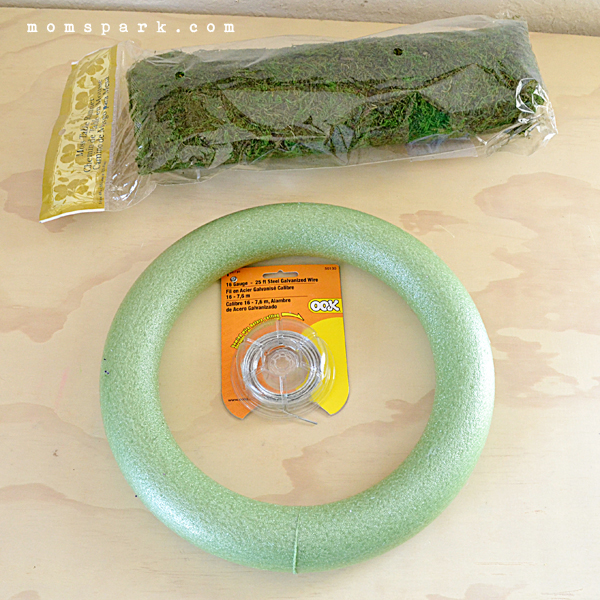
For this project you will need:
- green floral wreath form
- 16 gauge wire
- moss table runner
(this one came from Michael’s)
- pliers
/wire cutters
- hot glue gun
- scissors
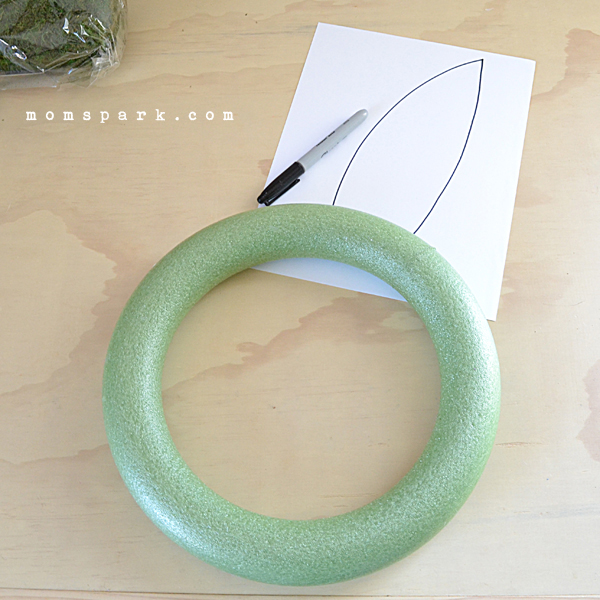
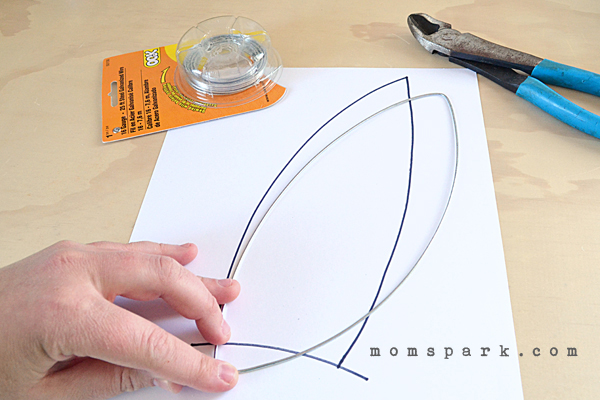
Use your drawn shape to make your ear frame. On this sort of thing, I always make three and use the two that are most similar. It’s a bit wasteful but I’ve found I have the best symmetry I can get with this method.
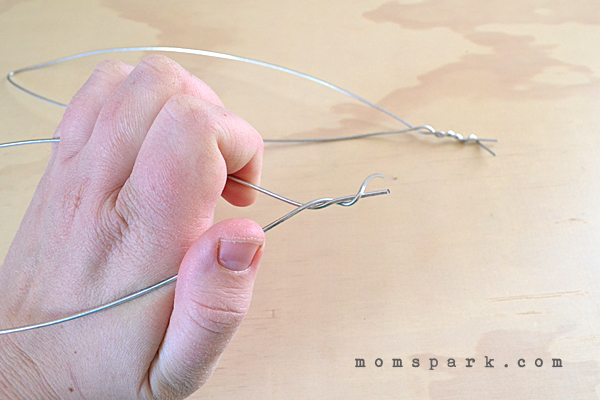
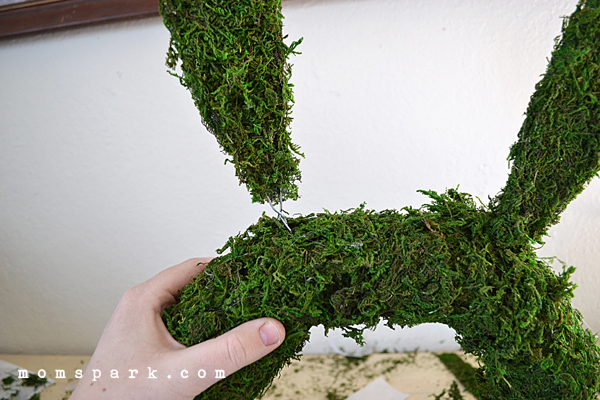
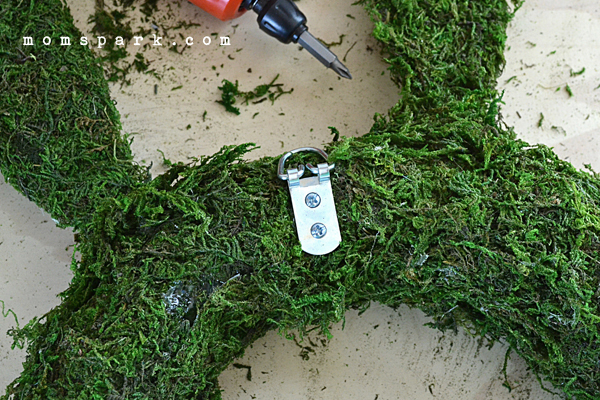
Twist the bottoms up and straighten out with your pliers. Give the wound-up wires a good squeeze to kind of mold the pieces together. These will be shoved into the wreath so they need to be a good inch long to fit snugly but not all of the ways through the wreath.
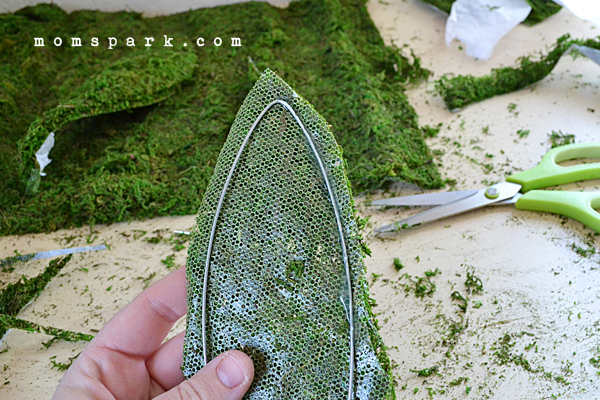
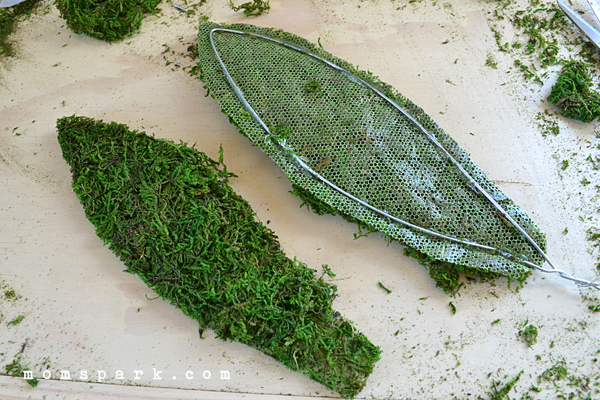
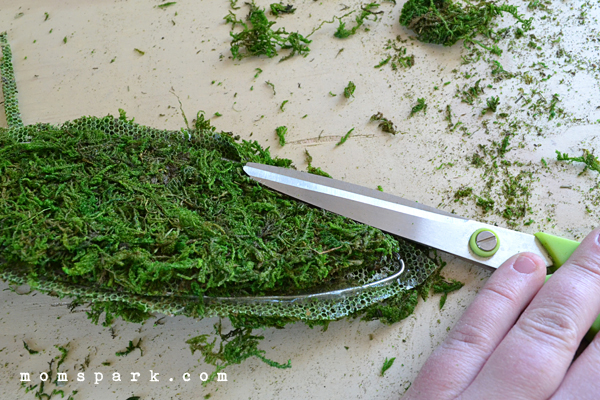
Hot glue the lip from the back edge onto the front side. Use something to keep from burning yourself. The glue tends to ooze from the mesh and through the moss so this is really pretty important!
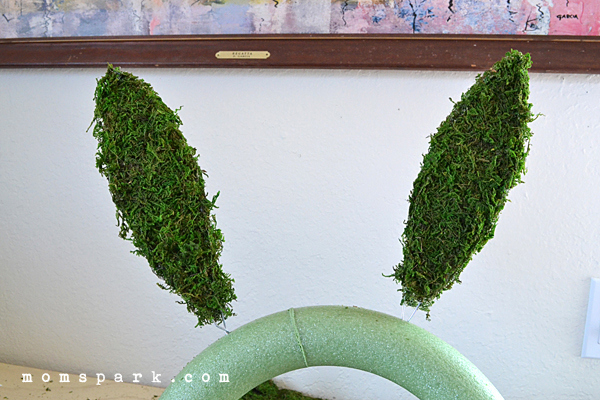
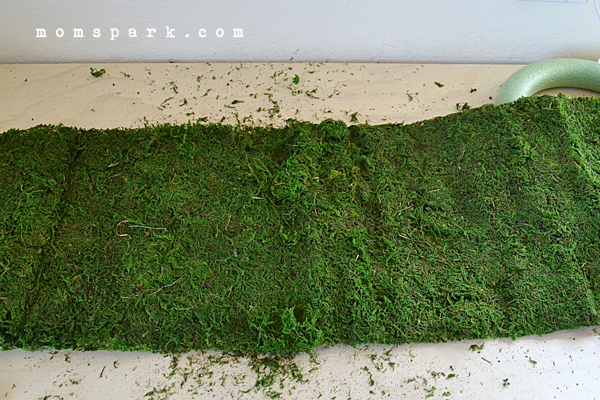
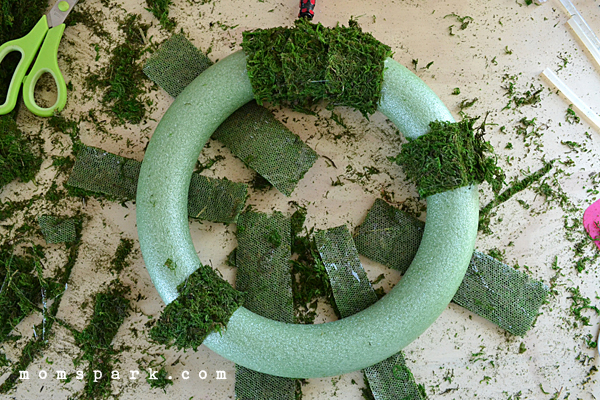
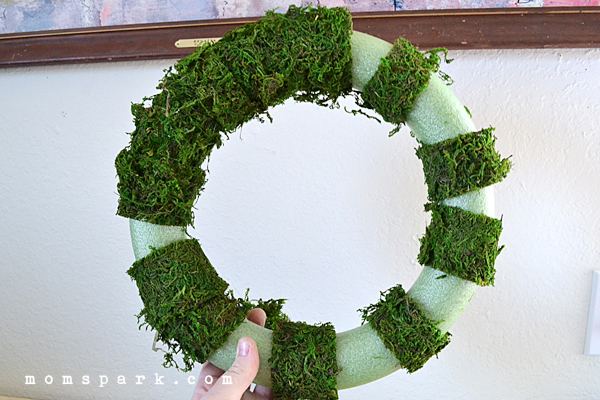
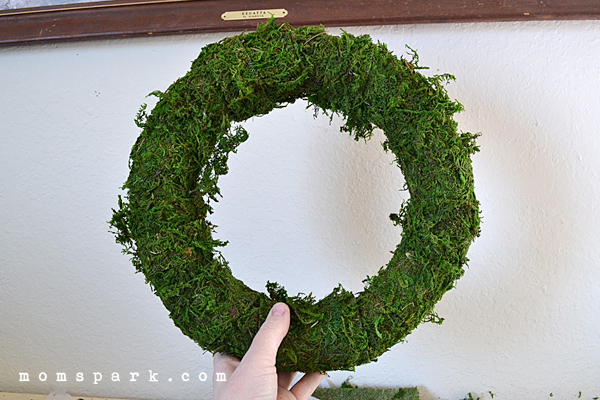
Take the stuff that falls off (there will be a lot of clumps that stick together really well) and glue it to any spots where the overlap of two moss pieces is obvious. Go around the entire wreath with your hands and squeeze the dickens out of it to press the moss into itself and help prevent a ton from falling off.
A crafter since her earliest years, Allison spends a little time every day making something. She crafts, sews, paints, glues things onto other things, and is a firm believer that a life spent creating is a life worth living. Visit Allison’s blog, Dream {a Little} BIGGER.


One Comment on “Simple Moss Bunny Wreath for Easter Tutorial”
I love this so much.