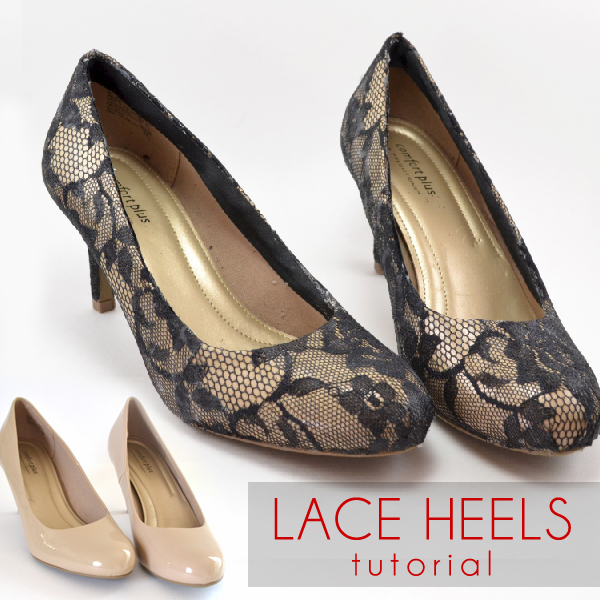
DIY Shoe Makeover: Lace Heels
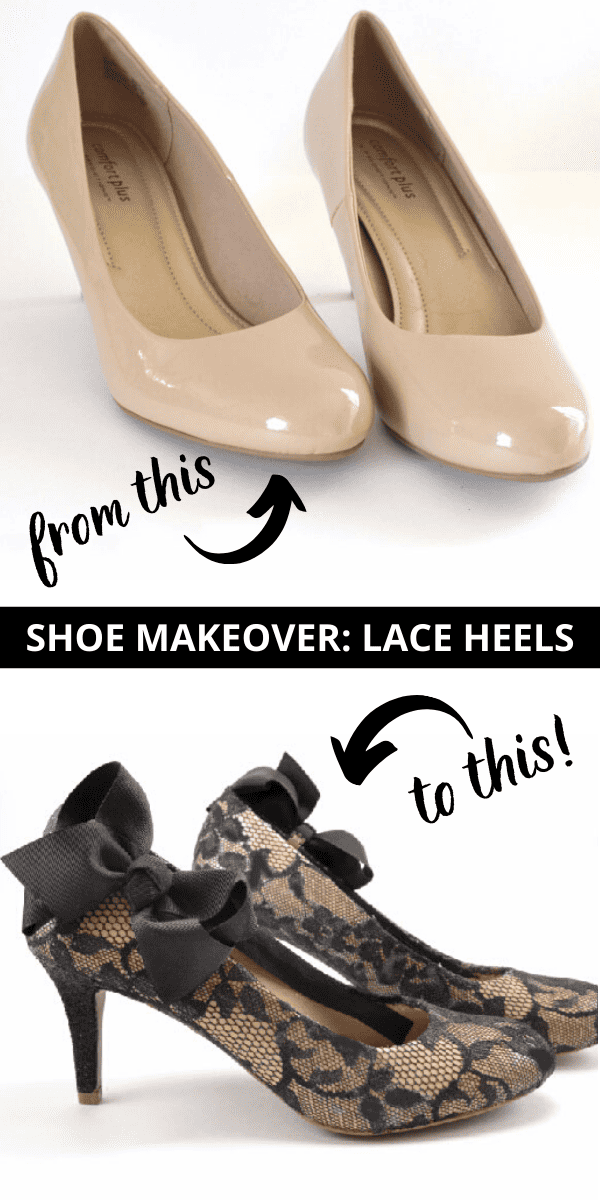
To be honest, it’s been a while since I’ve worn heels. I’m guessing it was probably to a funeral. In fact, out of all of my 72 pairs of shoes (oh, my!) I have only two pairs of heels!
The first pair are black slingbacks that I paid a fortune for back in my office gal days. The second is a pair of plain black pumps that are as basic as they get. So I figured it was about time to add something a little more fun to the mix and maybe I’d be more inclined to wear heels.
After all, I like the way I feel when I wear heels. I feel tall and confident and professional. So I got online and scoured the internet for some nude pumps and got after it.
For this project you will need:
- Nude heels
(but I’m thinking red could be so awesome, too!)
- black lace fabric
(1/4 yard will do you)
- Mod Podge
- spouncers
or foam brushes
- scissors
- x-acto knife
- black paint
- fine black glitter
- spray polyurethane
- hot glue
- ribbon
- bow shoe clips
(optional)
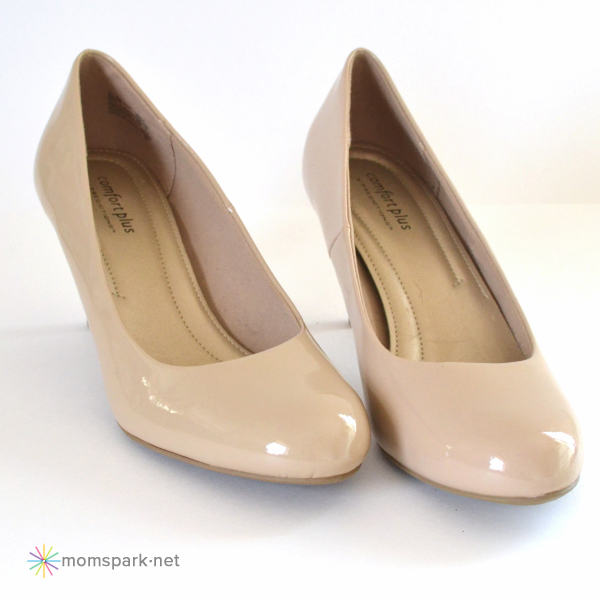
It took ages to find a pair of nude heels for a price I was willing to pay. Because I wanted decent shoes that wouldn’t cramp my style after an hour of standing I hit up eBay and got some second-hand (but unworn) heels for around $10 with shipping.
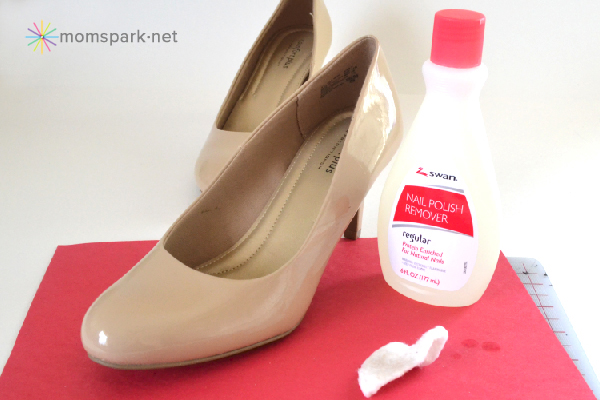
Now I’m looking a total idiot here because I thought my shoes were patent leather. Quick tip, if you want to remove the shine from patent leather, hit it with a few swipes of nail polish remover. The acetone will fix you up. However, if your shoes are a man-made upper, it makes sense to just use alcohol as no shiny-ness will be diminished from acetone.
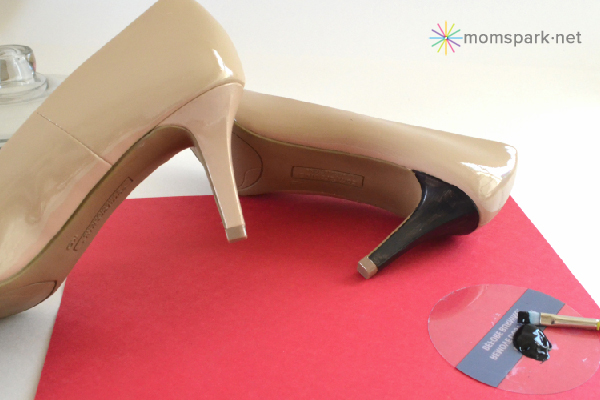
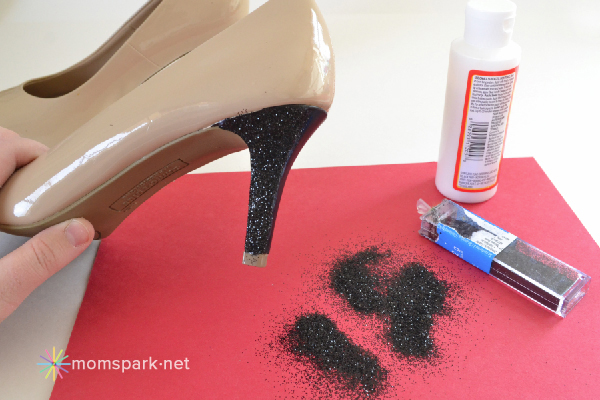
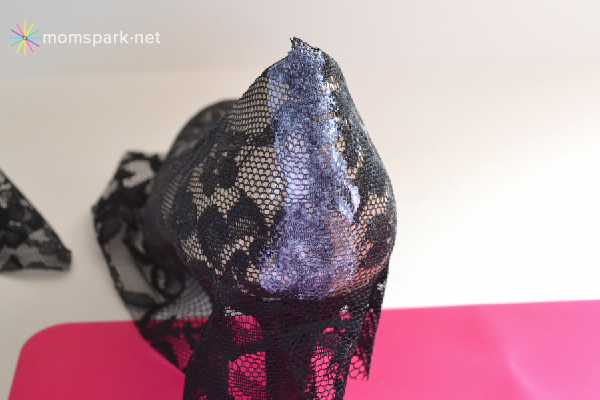
Next cut swaths of your lace that is big enough to cover the full shoe. Give yourself a few inches all around to be safe.
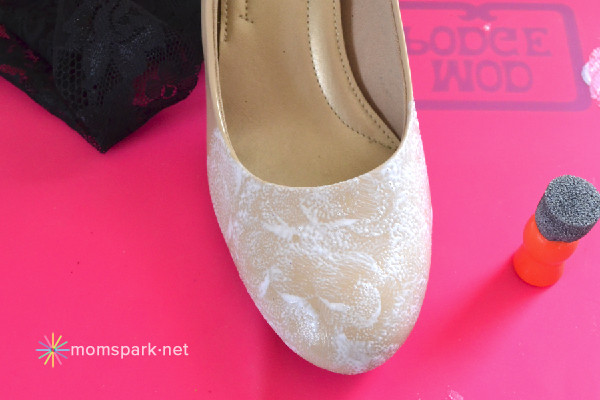
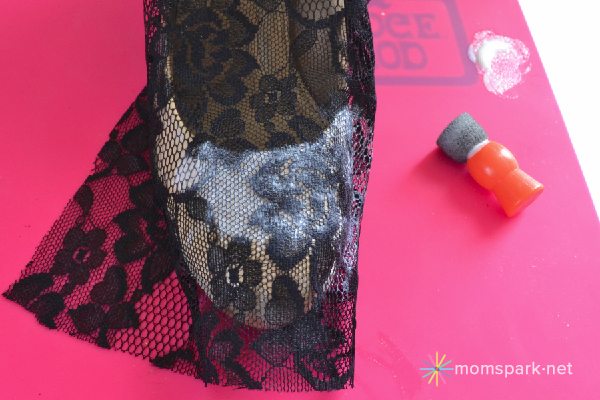
Cover with lace and daub Mod Podge on top. Set someplace to dry. I prefer a window sill in the sunshine.
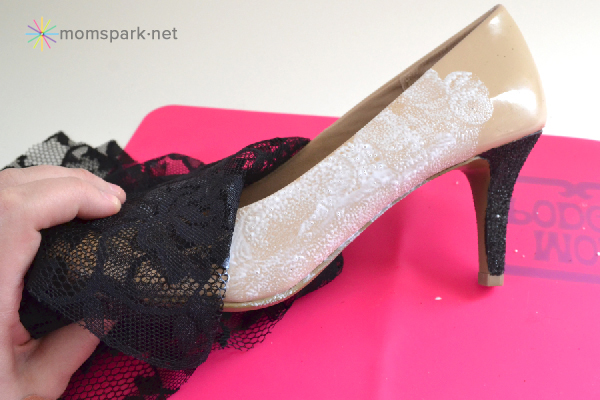
When the toe area has dried, go up one side of both shoes. Allow to fully dry and then get the other side.
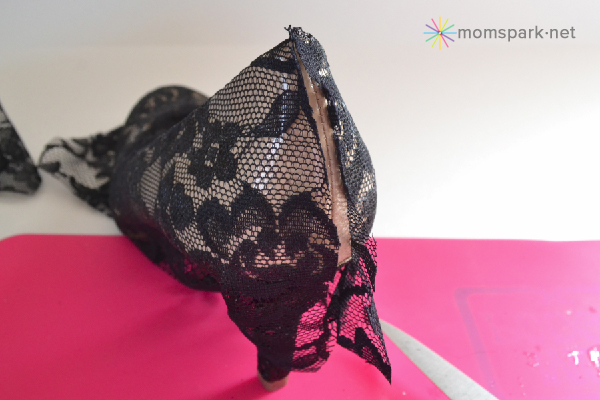
When you reach the very back, cut your lace so that it overlaps just a bit.
And Mod Podge down, allowing to dry.
Now because shoes can be curvy things, there may be areas where the lace didn’t adhere well, especially on the toe and right above the soles. So take a little bit of Mod Podge on a small brush and try to affix. If it’s still not sticking wait around until the Mod Podge is tacky and not fully dry and push the lace down. You may need to hold it a second but guarantee it will stay down that time!
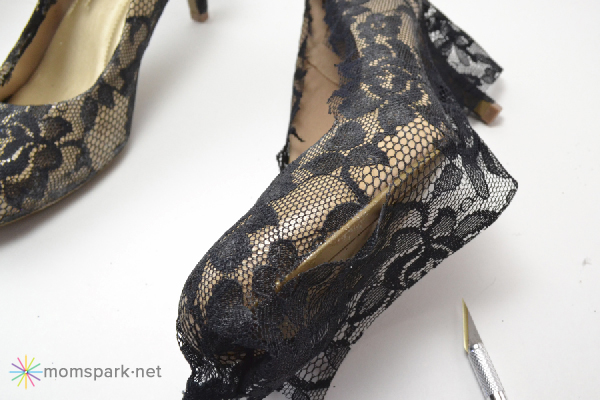
Take your X-acto knife and run around the sole to trim up the excess lace. Work with a brand new blade very slowly to ensure you don’t cut through your shoe.
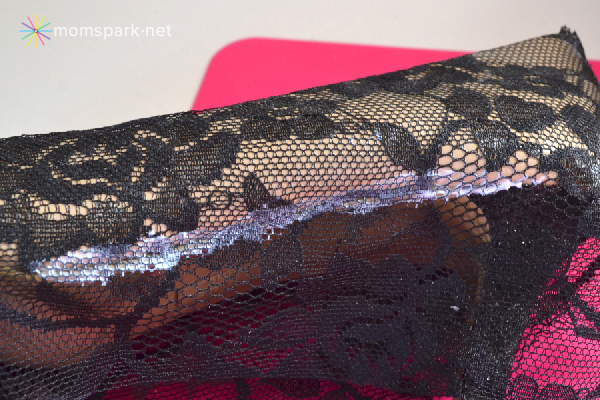
Cut out the lace covering the inside of the shoes leaving 1/4 – 1/2 inch of lace all around. Hot glue down.
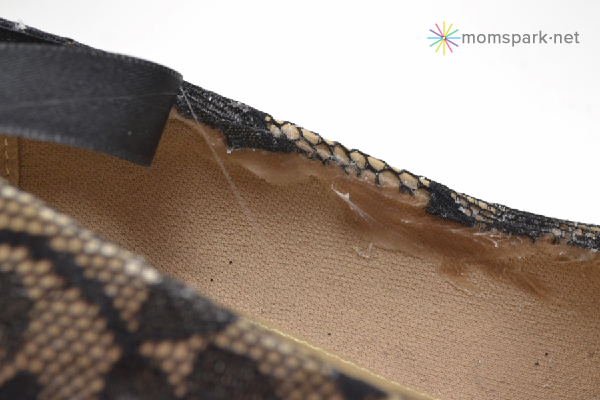
Now I’ve found that when I kick off my shoes I don’t want them to be hideous inside. Unfortunately, the hot glued-down lace was hideous. Plus it was kind of rough on the skin. To fix that up simply hot glue some lace around the inside of the shoe. I used black to match just in case my ribbon came up a little too high. I’d really recommend this!
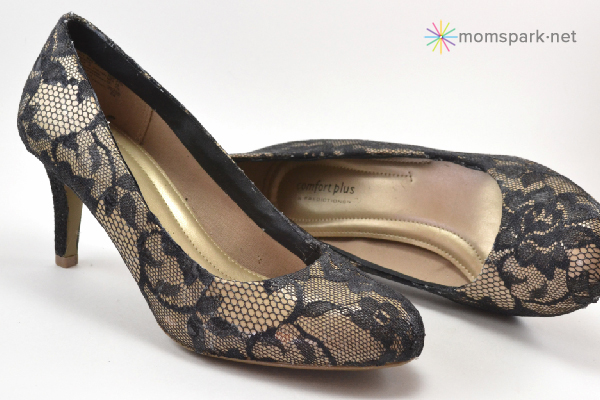
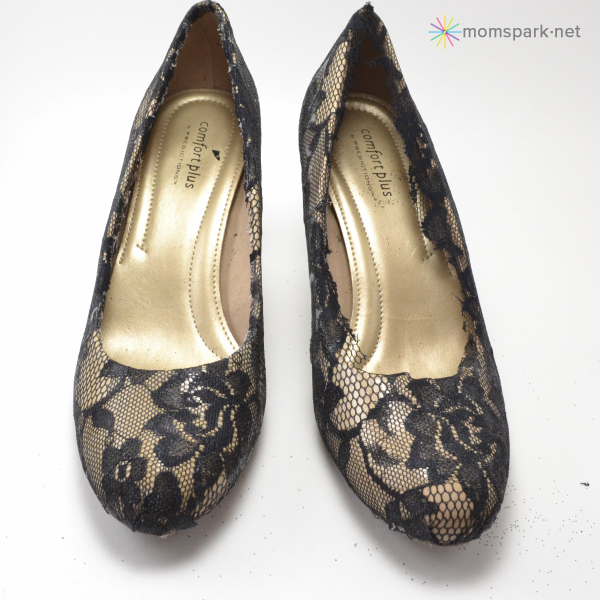
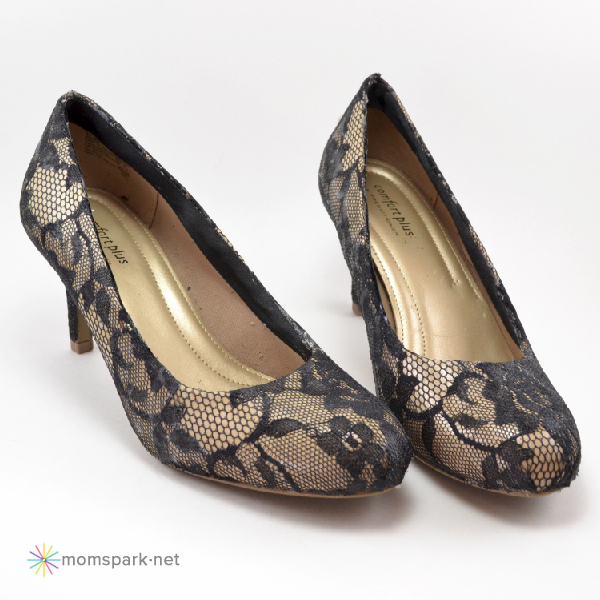
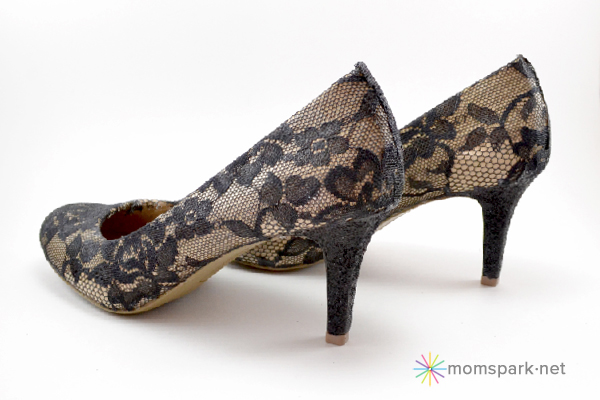
And there they are! A quick word of advice, when you’re using your Mod Podge over top of the lace, take care that you’re not applying it too thickly. There are some places where you can see the lace looks a bit cloudy. This is from over-applying the decoupage and it didn’t dry quite clearly.
And if you use acrylic sealer rather than polyurethane, your heels will be nice and glittery!
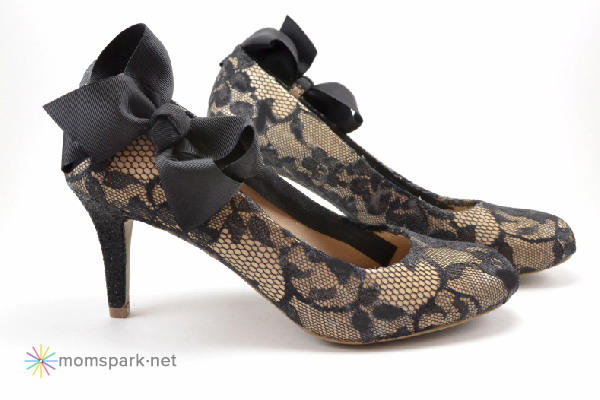
And while I was taking pictures I just knew that these would be darling with some bow shoe clips I made a while ago. So I busted them out and I have to say I think they are, in fact, quite darling!
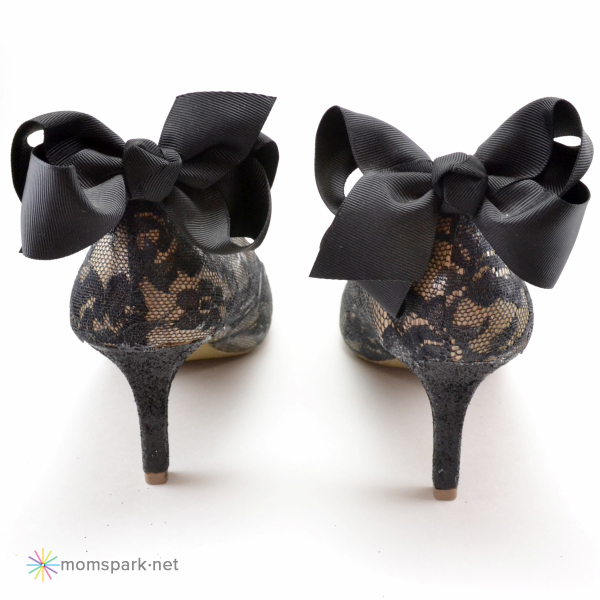
And the addition of bows on the back is kind of sexy!
I hope that you’ve enjoyed these fancy heels. Let us know if you make your own!
A crafter since her earliest years, Allison spends a little time every day making something. She crafts, sews, paints, glues things onto other things, and is a firm believer that a life spent creating is a life worth living. Visit Allison’s blog, Dream {a Little} BIGGER.


9 Comments on “DIY Shoe Makeover: Lace Heels”
Pingback: DIY – bracelet, collier, bague en dentelles | Le Magazine du Do It Yourself
Pingback: DIY Lace Colored Shoes - "I Do" DIYs.com
Pingback: DIY Lace Covered Shoes - "I Do" DIYs.com
Pingback: DIY - bracelet, collier, bague en dentelles -
Pingback: Fun shoes – Hopewell's Library of Life
Pingback: 36 Fabulous Shoe Makeovers Anyone Can Do! - DIY Projects for Teens
The Shoes Were AWESOME!!! I have a pair of 2 inch ankle strap heels in black and I want to put white or light beige flat lace on them how would I go about doing that?
Did you use gloss or matte modge podge
I love this! I want to make a pair of lace shoes for my next book signing, where I am going to wear 1920s clothes I’m designing. This will work perfectly. Thanks for sharing!