DIY Mod Podge and Gift Wrap Lamp
As far as craft materials go, Mod Podge is one of the easier, more accessible mediums to work with as a beginner or an expert. It’s truly amazing how many different things can be done with one little jar of the stuff.
I’ve challenged myself to start making more things with Mod Podge and I’ve been neck-deep in the stuff this past weekend and have made 8 different tutorials with the stuff! This lamp is my absolute favorite which is why I’m sharing it here at Mom Spark!
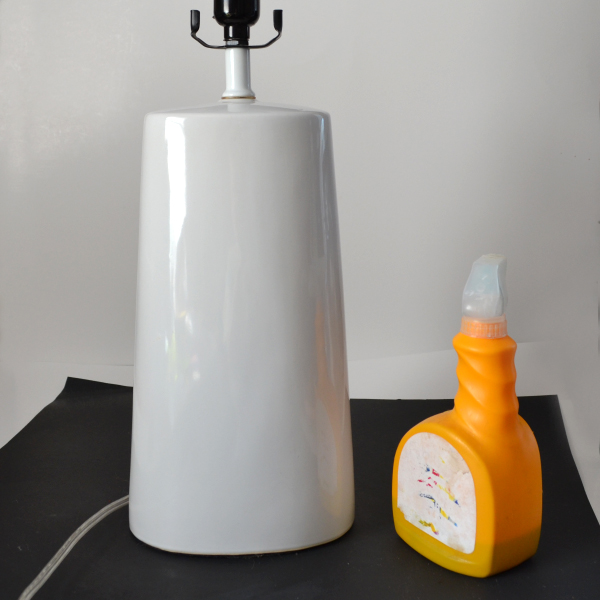
The whole thing started a long, long time ago. I found this basic white lamp for just shy of $7 at Target and snapped up two. The first I painted teal with a really stiff-bristled brush so that it’s really textured with lines running horizontally and it’s pretty awesome. The other lamp stayed plain Jane and sat in the corner of my office lighting things up if being a bit boring at the same time.
Flash forward to this last week when I happened to see this awesome, and I do mean awesome tissue paper in the gift wrap section. I snapped it up and ran and replenished my Mod Podge stash while I was at it. First off, I was worried that the tissue paper was going to be too thin to work well in this project and figured it might wind up being a craft fail but I was willing to give it a go.
In the end, I think that the thin paper worked out incredibly well and I’d highly recommend it or thin gift wrap over the thicker gift wrapping papers. Another option would be fabric and since there is no shortage of cute prints available you might find something to match your decor a bit more easily.
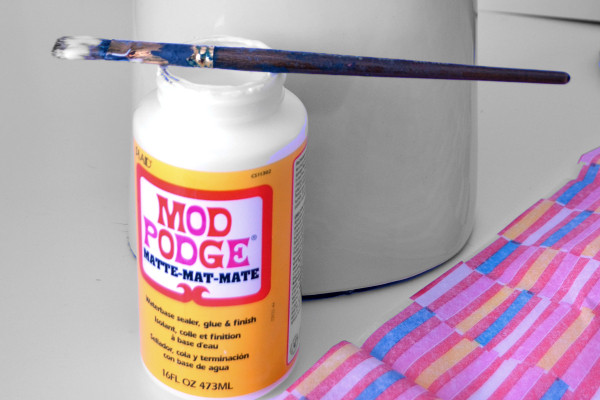
For this project you will need:
- Lamp base
(give it a good clean and spray paint it if necessary e.g. a black lamp wouldn’t have worked with my paper)
- Tissue paper
(or fabric
or gift wrap
)
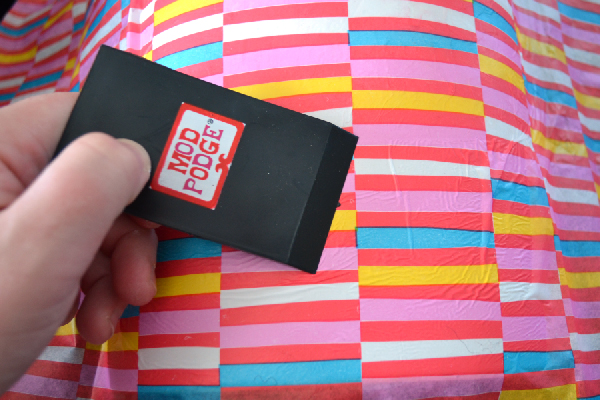
- Mod Podge
- Small and smooth bristled brush
- Mod Podge Squeegee
- X-acto
or utility knife
- Mod Podge hard coat formula
The key to success with this project is working in small areas at a time. I worked from the top to the bottom of the front side in 2-inch increments. Another key is to put a very light coat of the Mod Podge onto your lamp base. You may want to go on with a heavy hand but it will A. cause more wrinkles and B. give your tissue an easier time of tearing.
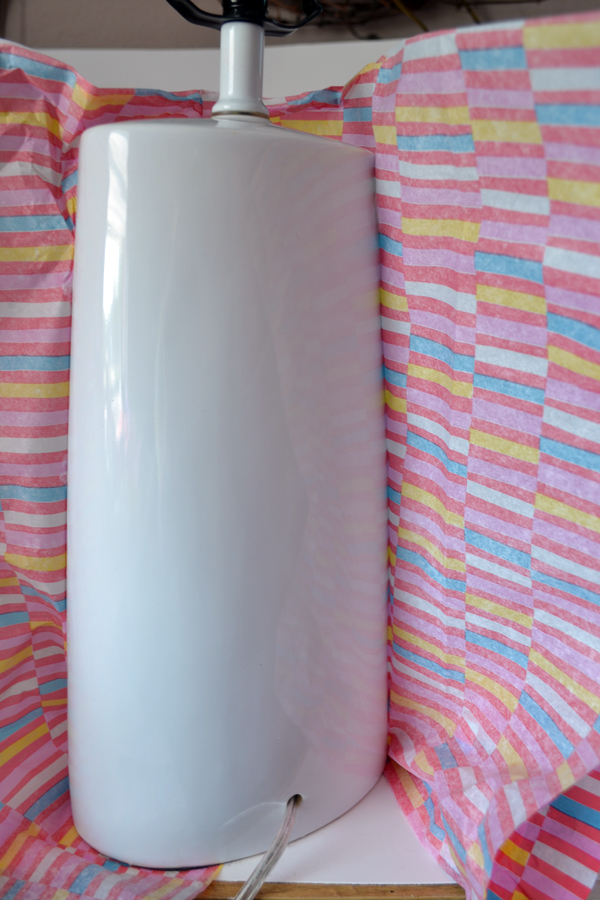
Lightly press the tissue paper onto the base while the Mod Podge is still wet.
Use your squeegee to help push out any bubbles or wrinkles. It’s kind of hard to tell in the pic but the top half I’ve already squeegeed and the bottom half I’m just getting to. Can you tell the difference?
Also a word about the squeegee. I have spent ages and I do mean AGES being a total tightwad refusing to even consider purchasing the Mod Podge toolset with this squeegee and brayer (it looks like a little rolling pin/paint roller thingumabob). But since I was doing so many projects this past weekend I decided to go ahead and splurge on it (and by splurge I mean to spend $4.75 on the set with my 40% off coupon). The only thing I can say is that I wish I would have gotten this silly thing sooner. Getting wrinkles out is SO MUCH EASIER and definitely worth even $8 at full price.
Oh, holy heck. If you get the occasional rip or tear, don’t freak. We’ll take care of it a little bit later on.
When you get your front finished up, you’ll start working on your sides and the back. If your paper is patterned like mine it might get kind of hinky toward the back but since mine will be in a corner it’s no biggie. Just keep that in mind if your back will be visible.
Continue working in the small sections bringing one side to the center. Bring the next over and cut a neat line in the paper to make a fairly straight and neat seam going up the back. Allow to fully dry before continuing.
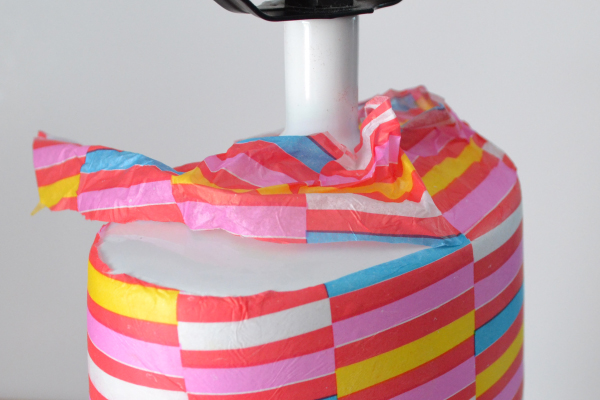
Now you’ll need to trim up the top and the bottom. Figure out how will look the best with your lamp. I decided to leave the top portion uncovered since I wouldn’t be able to match up the pattern there well. Use your x-acto or sharp utility knife to get a nice clean cut and go over it again if you need to. Take a small amount of Mod Podge on your soft brush and glue the edges down completely smooth.
Do the same for the bottom. Allow drying before continuing.
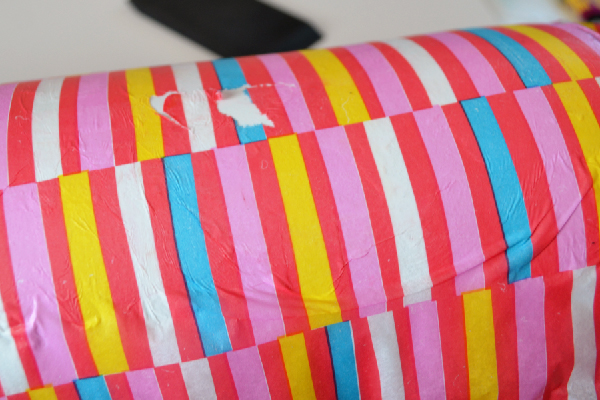
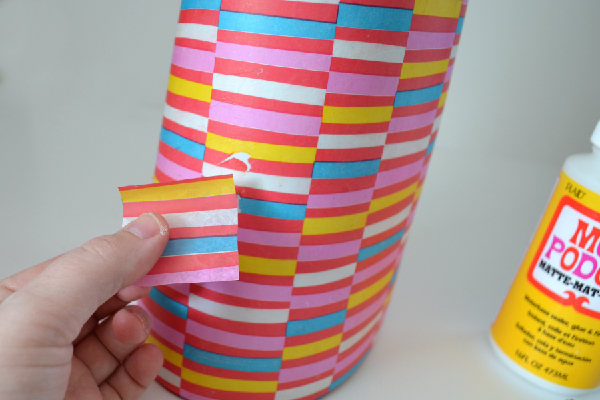
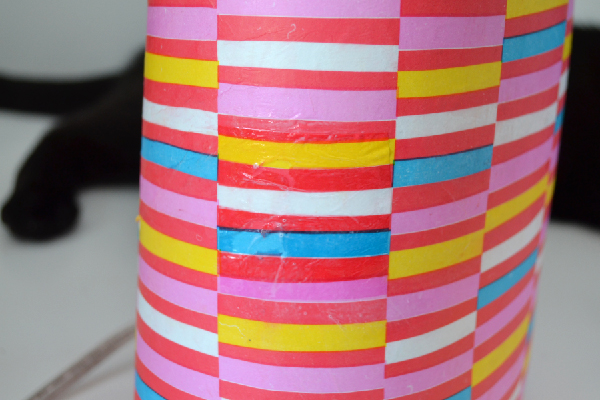
Ack! See that tear? It’s inevitable and not the end of the world. Cut out a piece of your paper as similar to the area that’s messed up as possible.
Glue it on and go over the seams with some Mod Podge to make the patch nice and flush. It looks pretty obvious here with the paper being wet and all, but when dry you’re hard-pressed to locate it! Oh, and say hi to my cat max in the background there.
When dry, give your lamp two or three coats of hard coat Mod Podge. Since lamps tend to be frequently touched this formula will extend the beauty of your lamp considerably. Keep your squeegee on hand and work slowly in the event that more bubbles try to pop up on you. And use a smooth, soft brush to prevent any unsightly brush strokes on the surface.
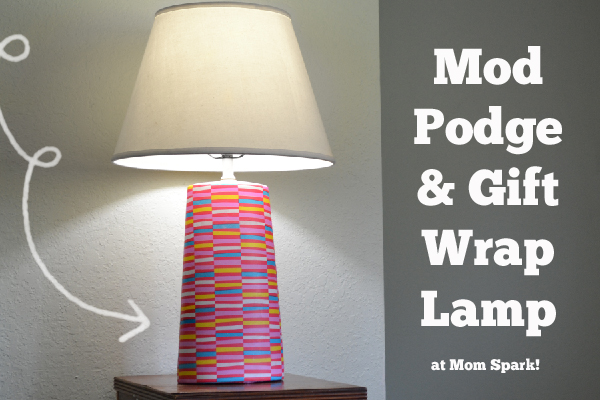
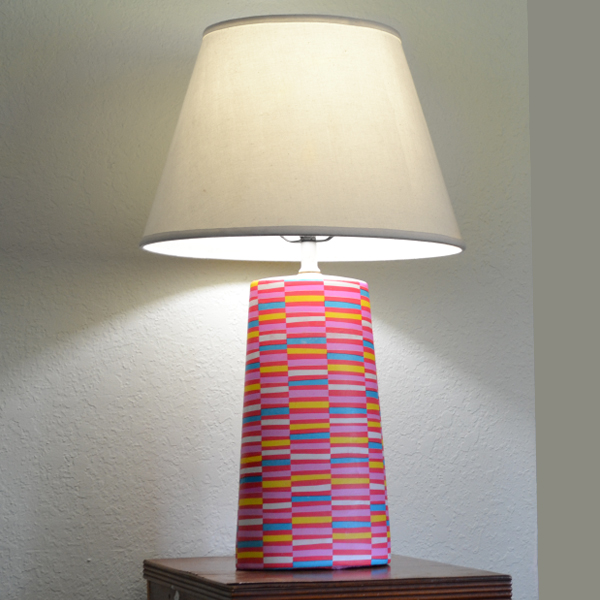
And there she is. Set it up with a matching lampshade and ooh and aah at what a unique and interesting lamp you now have! At the end with my lamp, tissue paper, and shade, this sucker cost me just a hair over $15. Not bad, not bad at all! Happy Tuesday and I’ll see you next week.
A crafter since her earliest years, Allison spends a little time every day making something. She crafts, sews, paints, glues things onto other things, and is a firm believer that a life spent creating is a life worth living. Visit Allison’s blog, Dream {a Little} BIGGER.


8 Comments on “DIY Mod Podge and Gift Wrap Lamp”
Great idea! Lighting is so important. It sets the mood, looks good and, of course, it has something to do with being able to see too I think! Anyhow, I’m definitely going to try this.
Lighting is very important! Glad you’re going to give it a go.
I find that your ideas of do-it-yourself are really Great!
I do not very well speak English because my language is French,
See you soon
Pingback: Gift wrap lamp craft. - Mod Podge Rocks
wow, how cute! you’d never know it wasn’t the design of the actual lamp. great job!
Thanks, Eva. That’s the highest form of compliment for a DIY 🙂
Pingback: 25 Amazing Mod Podge Crafts | Mom Spark™ - A Blog for Moms - Mom Blogger
Pingback: 11 Pretty DIY Mod Podge Projects